Last time we used some “scripts” and such to create an FS-UAE configuration ready to install the Amiga operating system.
Time to start the emulator:
cd ~/prg/fs-uae
./fs-uae
The emulated Amiga should boot to a Kickstart screen and Fn+F2 (how you get F12 on a Pi 400) should bring up the FS-UAE menu.
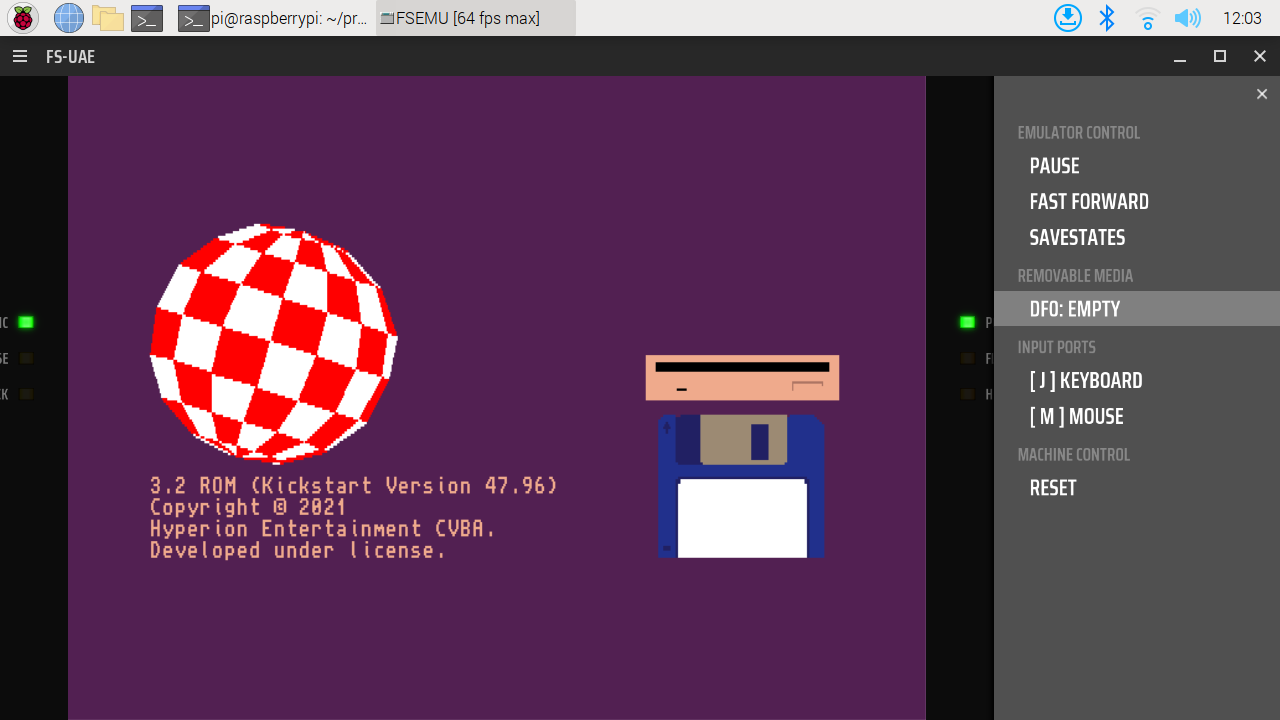
Cursor down to the “DF0: EMPTY” option and press Enter to access the list of floppy disks.
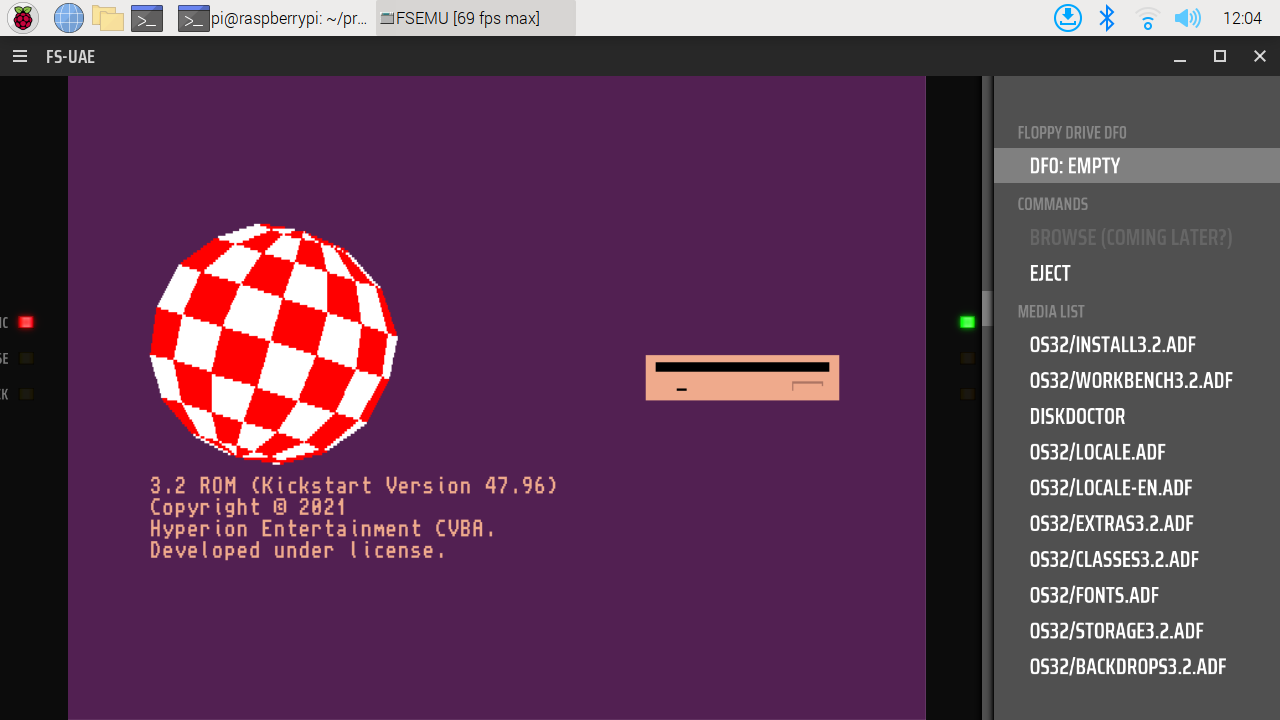
Selecting the “OS32/INSTALL3.2.ADF” disk will boot the Amiga from the install floppy disk. The disk menu will remain open, so Fn+F2 to close it.
For the most part following the instructions in the following blog post, particularly the HDToolBox stuff will get the Amiga side configured nicely.
After configuring the hard drive and launching the actual “Install” process, once the installer has finished with the first disk it will ask for the Workbench floppy disk. Press Fn+F2 and the side menu will be ready for you to select the Workbench disk:
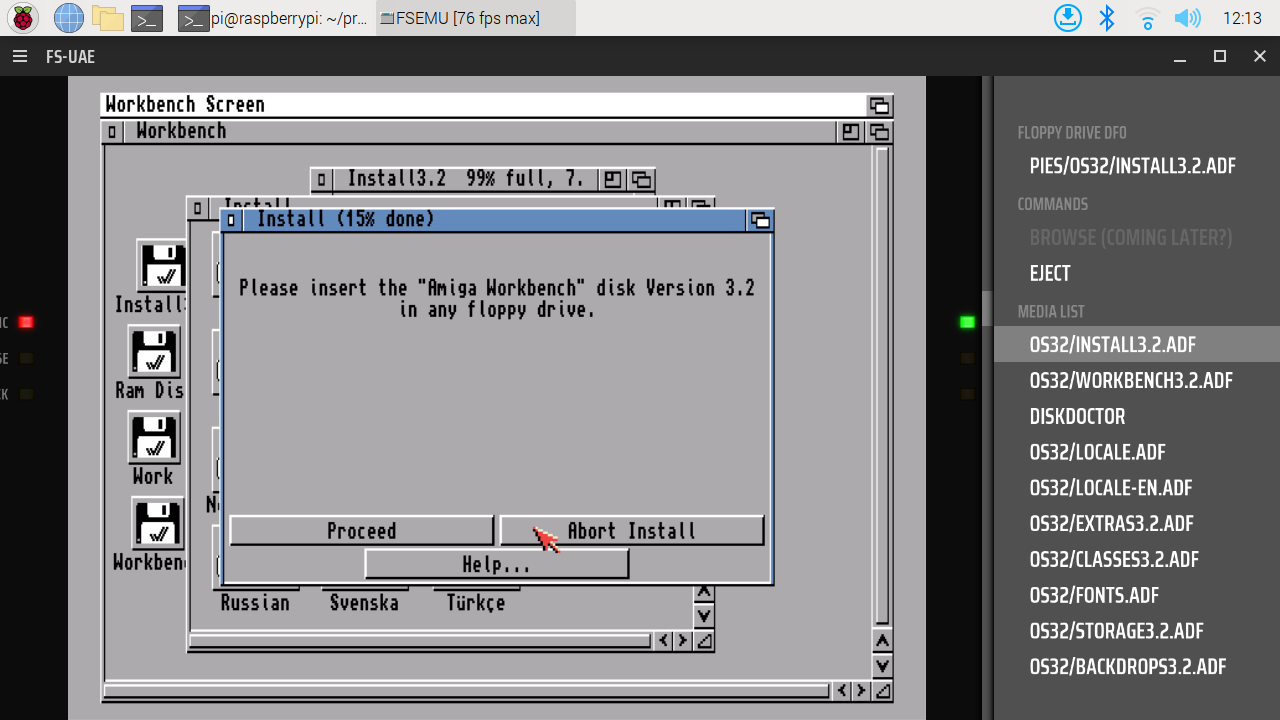
Just cursor down and hit Enter. This is where things get “interesting” here. The installer will start copying from Workbench and the side menu will still be up, so when the installer requests each new disk all you need to is tap the cursor down key and then Enter. Eventually you’re reach the end.
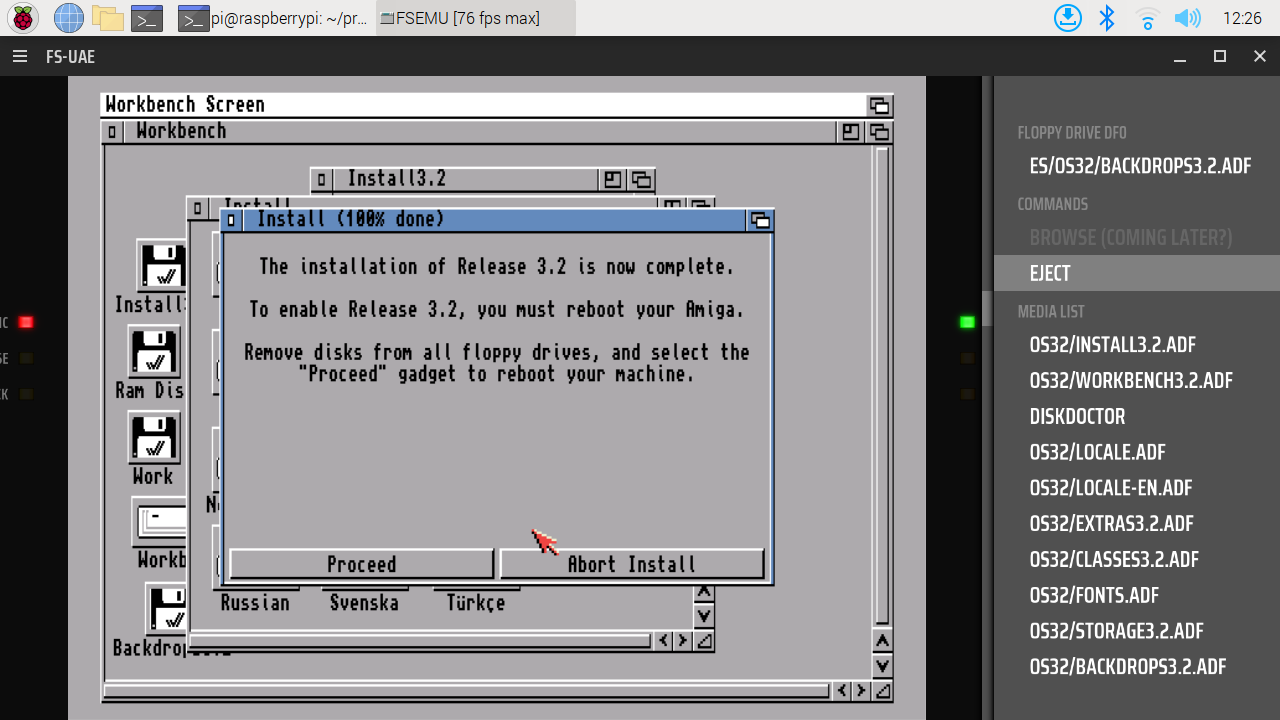
Cursor up to the “EJECT” option (as seen above) and hit Enter. Now would be a good time to exit out of the disk menu to press the Backspace key to return you back to the “main” side menu, and then Fn+F2 to close the emulator side menu. Now you can click on the “Proceed” button and the Amiga will boot from it’s emulated hard drive.
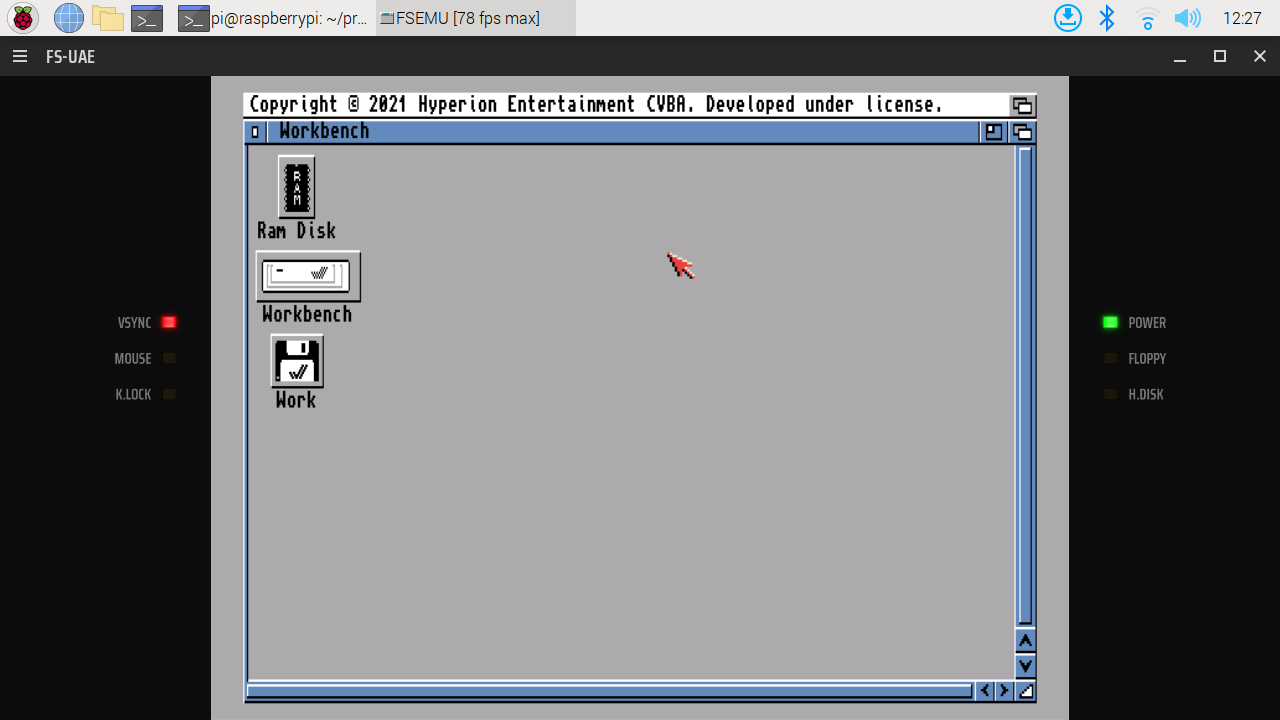
Little bit of post-install work now… Double click on the Workbench drive icon then on the System drawer icon. Single click on the “Shell” icon then using the right mouse button select “Leave out” from the “Icons” menu. This is move the Shell icon to the main Workbench window for easy access later.
Now single click on the Shell icon and select “Information…” from the “Icons” menu (again, right mouse button to access the menus). Unlike the previously mentioned blog post we’re going to configure the Shell window to open as the same size as the Workbench window which makes it a bit nicer in my opinion:
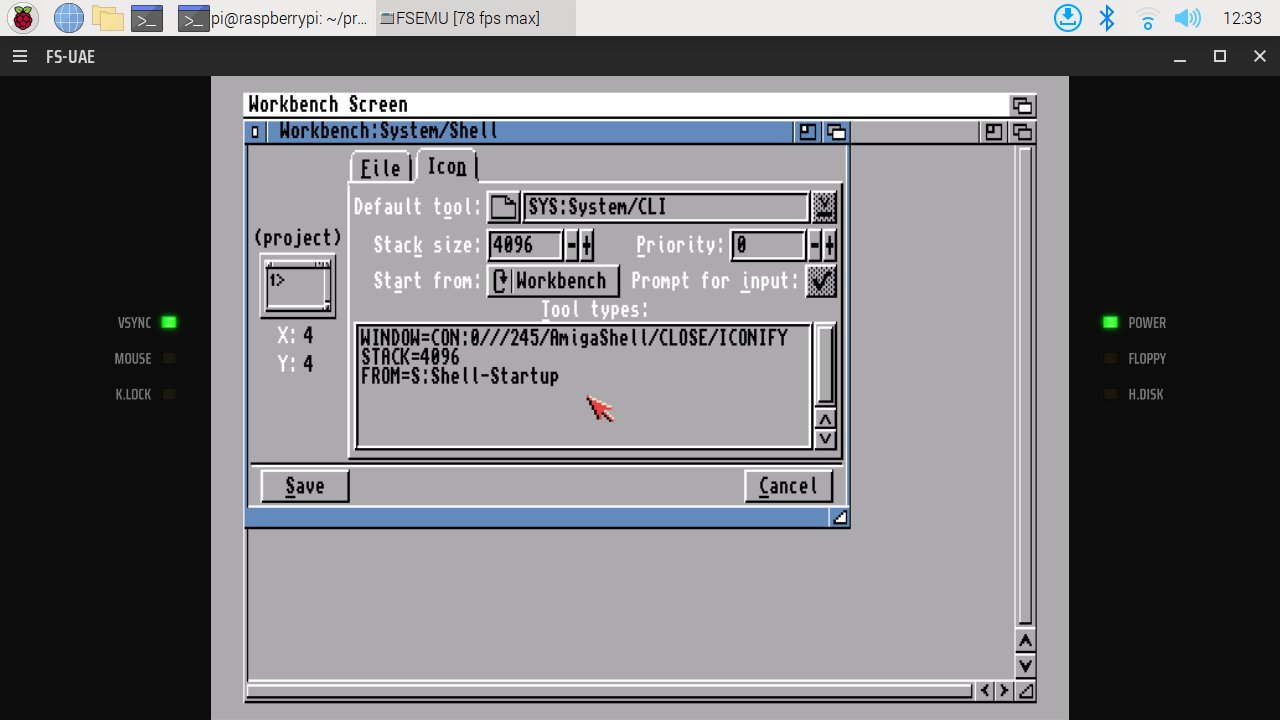
In the previously mentioned blog post the value 130 was changed to 256. Here we change it to 245. Click Save and we’re done with this.
Next up we want to reconfigure the emulator. Press Fn+F2 (F12) to access the emulator menu. If you didn’t exit out of the disk menu as suggested earlier, as a recap, press the Backspace key to go back to the main emulator menu. Cursor up to the ‘X’ at the top and press Enter to quit the emulator.
Next up some Linux shell commands:
cd ~/FS-UAE/Hard\ Drives/AmigaDev_XFER/t81t-dev/Linux/
sh configemu.sh --devmode
A neat trick worth mentioning (if you don’t already know already is tab-completion in the Linux terminal, e.g.
cd ~/FS<tab>
Ha<tab>
Am<tab>
t8<tab>
Li<tab><enter>
The “configemu.sh” script was previously used to configure the emulator ready for OS installation. The addition of the “–devmode” switch this time swaps out the installation floppies for a “temp” floppy image and adds the “transfer” folder as a drive.
Now let’s restart the emulaor:
cd ~/prg/fs-uae
./fs-uae
We can “fix” the icons on the “Work” and “XFER” drives by starting the Amiga’s Shell and issuing two commands:
Copy DH0:Disk.info DH1:
Copy DH0:Disk.info DH2:
OK this is a good place to stop. Next up… developer tools…