Two development environments?
It would be all too easy to show off running via Amiga Forever and pre-built system images but I don’t want to follow this route for a number of reasons.
Pre-built systems can easily be overwritten if you update Amiga Forever. This blog was drafted/tested when version 8 “R3” was the latest release, though at the time of publishing version 9 is out.
The world includes more than just Windows.
I will be actually using an emulator called FS-UAE, mostly, and covering here some setup using both the MSI installer of Amiga Forever and the ISO image. The first draft of these instructions was made when setting up a Windows based environment and was checked by using them as reference on a Linux system.
The environment I will be setting up will be equivalent to an A1200 with Kickstart and Workbench 3.1, running pretty much “stock” but with a 500 MB “hard drive” and an extra 8 MB of “fast” memory on top of the 2 MB “chip” memory.
On a Windows desktop (gaming rig normally) I downloaded Amiga Forever 8 Plus with the MSI installer and installed it normally, all defaults. The files we want out of it will (by default) end up in
C:\Users\Public\Documents\Amiga Files\Shared
On my Linux laptop I downloaded Amiga Forever 8 Plus using the ISO link which is a zip file containing the ISO and a few other files. This can be “mounted” (after extraction) using a couple of sudo Terminal commands, e.g.
sudo mkdir /mnt/iso
sudo mount -o loop ~/Downloads/af-dvd.iso /mnt/iso
Under this system the files we want can be accessed most easily by either using the GUI File Manager app or from a Terminal prompt with
cd /mnt/iso/Amiga\ Files/Shared
The two areas under “Shared” we are interested in are “rom” for Kickstart and “adf” for Workbench. This is where the MSI and ISO methods diverge a little.
When Amiga Forever installs via the MSI installer, the Kickstart ROM files are usable as they are. On the ISO image the Kickstart ROM files are encrypted. The only difference this makes is from the ISO file we need the file “rom.key” in addition to whatever “.rom” file we choose which will allow the Amiga emulator to decrypt the file on the fly. It would be easy to look at emulator source code and write a simple tool to decrypt the ROM files (I have done so in the past) but we will not cover this in these articles.
The Kickstart ROM file we will choose will be the following:
Shared/rom/amiga-os-310-a1200.rom
For background pretty much until the Kickstart 3.1 era all ROMs were hardware agnostic (with minor exceptions, the biggest being the original Amiga, later called the A1000 can only support 256K Kickstart ROMs locking it to the 1.x range). For the 3.1 ROM however in the “dying days” of Commodore as a going concern, the only way to enhance the 3.0 ROM and support the variety of hard drive interfaces on the supported Amiga models was to produce multiple versions of the ROM.
The Amiga used (as standard) double density 3.5 inch floppy disks. For emulation purposes a “standard” emerged to handle these called ADF. These contain the 880K (901,120 bytes) of floppy disk contents “raw” from start to end with no additional meta-data in the file. The full Workbench 3.1 (and 3.0) release consisted of six of these floppy disks, labeled (in order of usage during hard drive installation) Install, Workbench, Locale, Extras, Fonts and Storage (side note, back in the Workbench 3.0 era not all systems shipped with the Install disk). From Amiga Forever therefore we want the files:
Shared/adf/amiga-os-310-*.adf
Now we know what we want from Amiga Forever, let’s set up the emulation environment.
Modern Linux systems and Windows are much alike in some respects, like the user’s “home” directory (or folder if you like) having a sub folder called Documents. Windows sometimes “interprets” this as “My Documents” to be confusing. The emulator I am using here by default expects to work within a folder called “FS-UAE” in your documents folder, so go ahead and create that… The folder paths should be something like
/home/username/Documents/FS-UAE   (for Linux)
C:\Users\username\Documents\FS-UAE   (for Windows)
Inside FS-UAE create a folder called “Kickstarts” and copy the “a1200” ROM file previously mentioned into it. If you use the ISO file (on either platform) copy the file “rom.key” (from the same “rom” directory) there too.
Next create a folder called “Floppies” inside FS-UAE. Copy the six “adf” files previously mentioned in that folder.
The third folder you should create should be called “Hard Drives” (with a space).
I have decided to work with a “hard drive file” for the Amiga. Many or even most emulators suggest a “hard drive folder” is the recommended approach, and we will use a folder for transfer, but in my mind a hard drive file makes it a slightly more authentic experience. There is another advantage. You can “backup” and otherwise transport the “hdf” file very easily.
I have chosen to use a 500 MB hard disk file. This will be MORE than sufficient as the largest drive I ever used on a real Amiga computer was around 300 MB.
Where does this file come from?
If you use any of a number of front-ends you can create one easily enough but if you work “raw” they are actually fairly simple to make yourself… You have developer tools on your host machine right? Well okay, you might not on Windows but there is a IDE and compiler suite called Dev-C++ that’ll work fine, or you can experiment with the Cygwin environment, or maybe even Visual Studio (there is a free edition).
I made a VERY simple ANSI C program to create a suitable file. Here it is…
/* mk500rdb.c */

#include <stdio.h>

const unsigned int hdfsize = 500*1024*1024;

int main (int argc, char *argv[])
{
  FILE *f;
  char tag[5] = "rdsk";
  if (argc != 2)
  {
    puts ("Usage: mk500rdb filename.hdf");
    return 0;
  }
  f = fopen (argv[1], "wb+");
  if (f != NULL)
  {
    fwrite (tag, 1, 4, f);
    fseek (f, hdfsize - 1, SEEK_SET);
    fwrite (&tag[4], 1, 1, f);
    fclose (f);
  }
  return 0;
}
Basically an empty file of the desired size with the ASCII characters “rdsk” at the front. Easy… For the benefit of Windows users without having Windows development tools, you can download this small ZIP file which will expand to the chosen 500 MB size file.
The last thing you need to setup is a Configurations folder. Inside here you should create a text file called “Default.fs-uae” containing the below. Windows users are very strongly recommended at this point to grab “Notepad++” if they don’t have it already. Trust me, it’s worth it.
[fs-uae]
amiga_model = A1200
chip_memory = 2048
fast_memory = 8192
joystick_port_1 = nothing
hard_drive_0 = AmigaDev.hdf
hard_drive_0_controller = ide0
kickstart_file = amiga-os-310-a1200.rom
save_disk = 0
floppy_image_0 = amiga-os-310-install.adf
floppy_image_1 = amiga-os-310-workbench.adf
floppy_image_2 = amiga-os-310-locale.adf
floppy_image_3 = amiga-os-310-extras.adf
floppy_image_4 = amiga-os-310-fonts.adf
floppy_image_5 = amiga-os-310-storage.adf
In theory you could call your “hdf” file something different, but this will work nicely enough for us.
If anyone is saying “wait? he hasn’t mentioned grabbing the emulator yet!”… True… Follow this link and you should get an appropriate page for your system
What we will grab here is the “FS-UAE emulator only” package rather than the “suite” file. You can and I did once to play with the suite version in the past but we only need the emulator. At the time of writing the latest was version 3.0.5.
Extracting the archive on your machine you should see a few folders including one for your platform (e.g. Linux or Windows), which will contain a folder for a CPU architecture (e.g. x86-64). The executable in that folder (fs-uae or fs-uae.exe) is the emulator… Run this and after a while you should see something like the following.
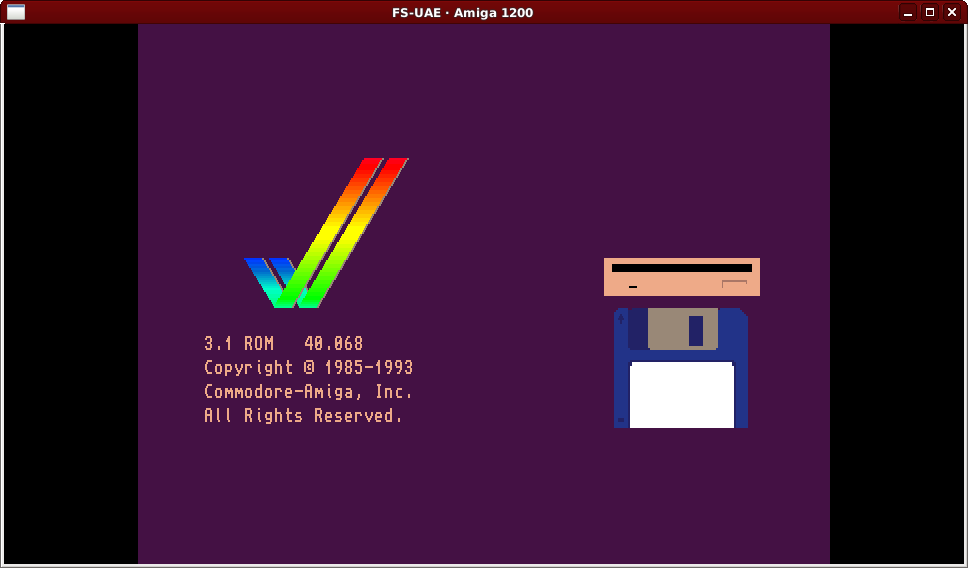
Or maybe…
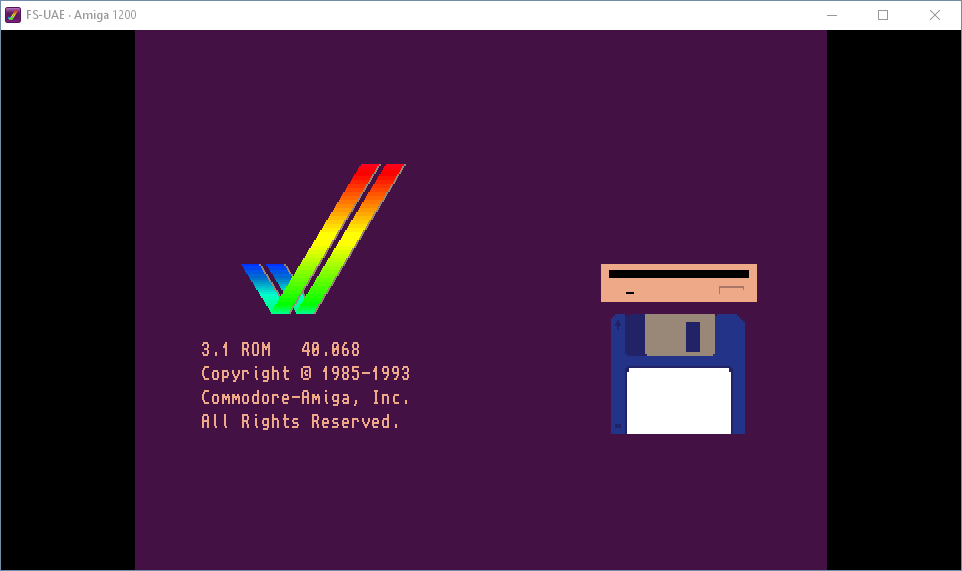
The disk image will repeatedly animate going into the floppy drive. This is the Amiga equivalent of a PC showing a text message about “no bootable media found” (or similar) or the even rarer Apple equivalent (think it’s a monochrome disk with a flashing question mark, but it’s been years since I last saw it).
From this point on, we can basically ignore the “host” platform and concentrate on the Amiga so this seems a good point take a break… Until next time…
Uhm… yeah… almost forgot… you might want to quit the emulator and you’re wondering where your mouse pointer is… right… well press your middle mouse button if you have one (quite often a scroll wheel) or press Alt+G if you just have two buttons, and you should get your host mouse pointer back. Just close the emulator window, et voila! Alternatively press the F12 key to bring up FS-UAE’s UI, cursor up to the ‘X’ at the top right and press Enter.