Answer: OS 3.1 and 3.2 and NDK 3.9 and 3.2, and it matters only a little bit if we’re careful…
OK, maybe we should expand on this… helpfully…
When I started writing this I was setting up a “Commodore-ish” system, and except where absolutely necessary to stick to “legal sources” and with minimal cost I selected OS 3.1 which is available via Cloanto’s Amiga Forever package and the Haage & Partner NDK relating to their 3.9 “Workbench” release. Their “3.5” and “3.9” systems were just software components designed to run on original Commodore Kickstart 3.1.
In recent years Hyperion Entertainment have been dabbling with updating the ex Commodore system, starting from the original 3.1 release and initially releasing Kickstart and Workbench 3.1.4 update (were they inspired by 2.0 and 2.04?) and more recently a complete 3.2 release, with Kickstart ROMs in various formats, along with a matching NDK release.
It is completely possible to just purchase Amiga Forever or just purchase AmigaOS 3.2 and use only these as a “legal” Amiga operating system and start developing.
Amiga Forever does have the advantage of including multiple versions of Kickstart, but supplies no developer files.
Do we really care? Not too much as we can work around any major differences.
First thing we will do is “fix” a discrepancy in terms of the hard drive. Instead of using the easier “HDSetup” on 3.1 and the trickier but more flexible “HDToolBox” on 3.2 we’ll use “HDToolBox” on both. On a 3.1 system you need to reboot after using HDToolBox for the drives to appear. For good measure we’ll provide a partitioned formatted drive image here. This gives (approx) 250 MB to DH0: drive as “Workbench” and same to DH1: drive as “Work”.
So all you need do in the FS-UAE configuration file is select the correct ROM file and follow the install directions previously given to install the operating system… Except for one minor point…


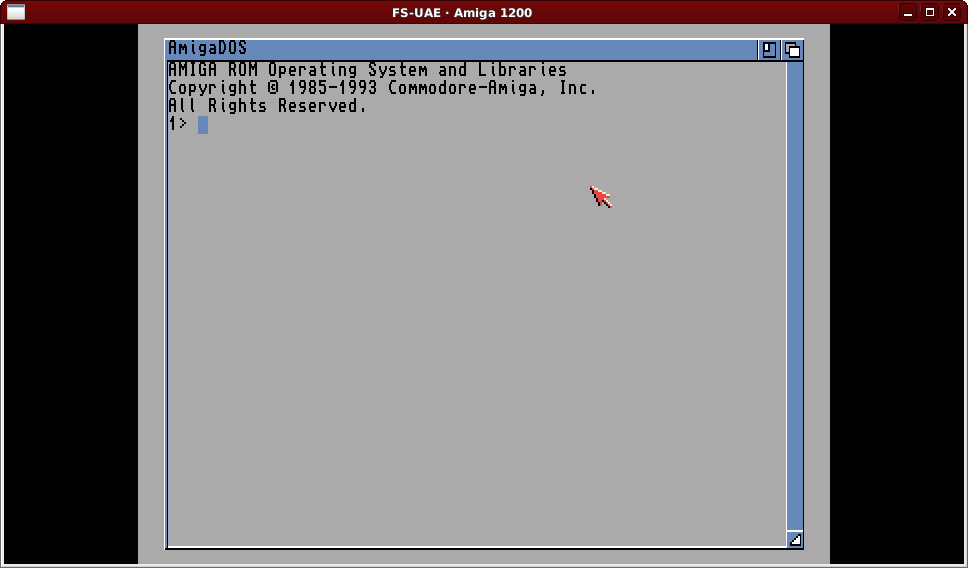
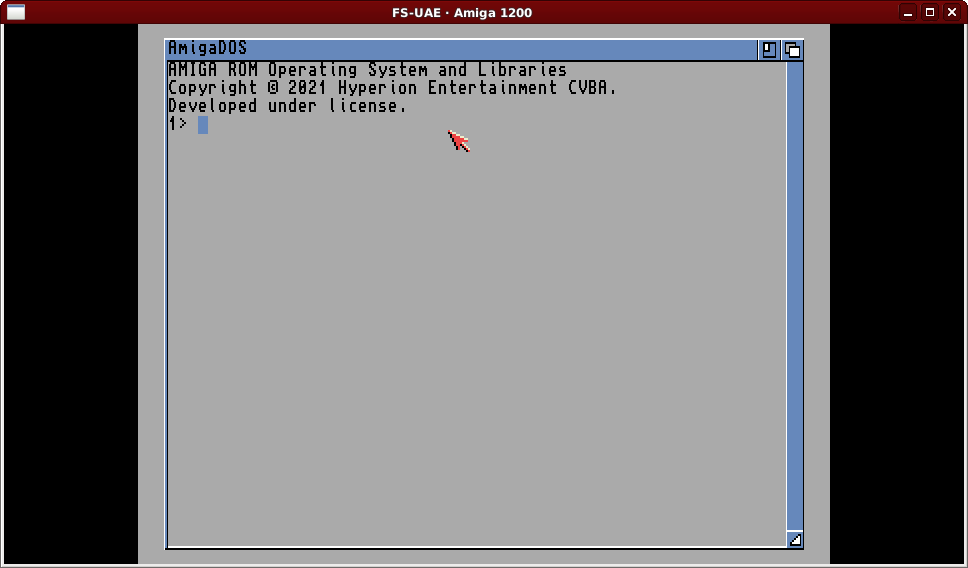
We don’t configure the emulator with a pre-inserted floppy disk, and we’ve partitioned and formatted the hard drive with it set as bootable, therefore the Amiga will boot from the empty hard drive. You can resize and move that “AmigaDOS” window if you like, not that you can do much… For fun try typing in “Resident”.
So instead of starting at the Kickstart ROM screen and using F12 to insert the first floppy, now you F12 insert the floppy and press Ctrl-Win-PageDown (FS-UAE equivalent of Ctrl-Amiga-Amiga) to reboot from the floppy disk.
Now simply follow the “main” part of the 3.1 or 3.2 install instructions.
After rebooting, shutdown the emulated system (F12, cursor up to X, Enter) and edit the configuration file to add in the transfer area:
hard_drive_2 = AmigaDev_XFER
hard_drive_2_label = XFER
We have a little “gift” here. A nice ZIP file containing various Aminet files, some T81T.dev packages that we’ll go over soon, and a little “quick setup” script. Extract into the AmigaDev_XFER folder (inside FS-UAE’s “Hard Drives” folder, following instructions from previous blog posts). Depending on OS version (and therefore NDK version) copy either NDK39.lha or NDK3.2R3.lha into that folder too. Or copy both if you have them.
For a 3.1 system with NDK 3.9 execute the “quick setup” script by typing the following into an AmigaShell window.
Execute XFER:t81t_quick_3139
Alternatively, for a 3.2 system execute the “quick setup” script by typing the following into an AmigaShell window.
Execute XFER:t81t_quick_32
The “quick” scripts will run for a few minutes, performing all the previously documented install steps, and a few more, leaving you (eventually) to perform the two vbcc installations. Switch to Workbench, open Ram Disk, and instead of scrolling around select “Clean Up” from the “Window” menu. Double click on “vbcc_bin_amigaos68k” and run through the installer, selecting “Workbench:” as the destination, then when that is complete, close that window and open up “vbcc_target_m68k-amigaos” to run that setup. The quick script will finish by specifying the path you need to select at this step, e.g.
Workbench:NDK39/Include/include_h
Workbench:NDK32/Include_H
Reboot and then all you’ll want to do is “Leave Out” the Shell icon and tweak the options, again as previous documented in blog posts.
One of the things the scripts will do is something not previously performed in prior blog posts as insulates us from the differences in NDK layout in our future projects. Taking the 3.1/3.9 script as an example, the following is added to the S:User-Startup script.
Assign >NIL: ndkasminc: Workbench:NDK39/Include/include_i
What the “Assign” command does is to create a sort of “shortcut” to a folder. If we define a shortcut of the same name and point it to the correct folder for the NDK concerned we don’t need to refer to the complete path. This is how we can “disregard” the version of the NDK.
That’s all for now… We’ll start building more stuff really soon… Promise…