I can’t deny my interest has steadily increased in Hyperion Entertainment’s further refinements and updates to AmigaOS 3.2 so recently I decided to place an order with an official retailer. There are many other fine web retailers, some of which offering actual “ROM” chips for physical machines, but this is the retailer I used.
https://www.simulant.uk/shop/software/amiga-os-3.2
I received a CD-ROM in a “DVD style” case. In my case a serial number label was on the plastic wrap, so if you invest in a copy, be careful of that label. You should create an account (if you don’t have one already) and register the serial number at https://www.hyperion-entertainment.com/ too.
I used Linux for this example but other platforms should work equally well, with some adjustments to how you launch FS-UAE, the chosen emulator for this series of blog posts. I have run this up in WinUAE too with a certain amount of trial and error.
Firstly I copied the entire content of the CD to a folder on my hard drive, then I copied the “kicka1200.rom” file from the “ROM” folder to the FS-UAE “Kickstarts” folder. In this instance I didn’t adjust the name to reflect the “3.2” version number as I didn’t have anything that conflicted. After that I made a folder under the FS-UAE “Floppies” folder called “OS32” and then copied EVERY file from the CD’s “ADF” folder to it. We will only use 10 of the 35 ADFs here though.
35 ADFs? Has AmigaOS suddenly been hit by bloatware? Not really… The system effectively has a Welcome/Help system, basically an entire manual which has been translated and localized, and is the main content of the 15 “Locale-xx” disks. The system also can run on older Kickstart ROM files, and to do that there are “modules” that can be loaded in RAM to “replace” original Kickstart ROM modules if required. Due to hardware differences there are 8 different “module” disks only used with old Kickstart ROMs. That’s 23 extra disks (we only use one of these) leaving a “core” of 12 disks.
Of what I call the “core” 12 desks, we’ve been familiar with six on the 3.0 and 3.1 set, Install, Workbench, Locale, Extras, Fonts, Storage.
So six new disks? First of all there are four “main” disks. The first is HDSetup. On prior systems the Install disks had HDSetup, HDToolBox and the installer (and typically some additional files too). HDSetup is a “friendlier” setup tool, but likely for space reason has been given it’s own disk. Now we look at DiskDoctor. This disk’s main purposes is a new data recovery tool, but also holds software to handle ADFs directly (nice feature). Third disk to look at is Classes. Late in the AmigaOS history a new type of developing UI was being developed by the Commodore-Amiga dev team under the label BOOPSI. Over time developers have taken this further and this disk is home to the new “ReAction” UI elements, but is also host to the Amiga 2.x innovation of “data types”. A fourth disk is a little “fluff” item, Backdrops, home to some background pictures you can optionally use.
Completing the six new disks are two “support” disks that we can do without here. One called MMULibs. One systems with 68030 and above chips you need additional CPU libraries to ensure you have a stable system. Normally accelerator board manufacturers provide these, but this disk contains some “generic” libraries that can work in some situations. It also contains additional support to make using MMU equipped systems nicer to use. Then finally a disk firmly under the category of “optional”, the GlowIcons disk. This contains a complete set of replacement icons. Seemingly designed for “square pixels” and certainly better for systems set for large numbers of colours and thus higher-end CPUs to cope with the extra load.
Thus we need the same six disks we would for 3.1, one of the language disks for the “manual”, and three of the four “main” new disks for our emulated A1200, because today we will bravely use HDToolBox.
I used my “mk500rdb” program to make a new hdf file
./mk500rdb ~/Documents/FS-UAE/Hard\ Drives/AmigaOS32.hdf
Now a configuration file will be needed. We don’t want to mess up our “default” so we’ll create a new file:
~/Documents/FS-UAE/Configurations/OS32.fs-uae
[fs-uae]
amiga_model = A1200
chip_memory = 2048
fast_memory = 8192
joystick_port_1 = nothing
hard_drive_0 = AmigaOS32.hdr
hard_drive_0_controller = ide0
kickstart_file = kicka1200.rom
save_disk = 0
floppy_image_0 = OS32/Install3.2.adf
floppy_image_1 = OS32/Workbench3.2.adf
floppy_image_2 = OS32/DiskDoctor.adf
floppy_image_3 = OS32/Locale.adf
floppy_image_4 = OS32/Locale-EN.adf
floppy_image_5 = OS32/Extras3.2.adf
floppy_image_6 = OS32/Classes3.2.adf
floppy_image_7 = OS32/Fonts.adf
floppy_image_8 = OS32/Storage3.2.adf
floppy_image_9 = OS32/Backdrops3.2.adf
The ordering (and “consist”) of the list of ADF files is based partly on the CD-ROM documentation, partly on a little bit of trial and error on my part.
Now we can launch FS-UAE… with the current directory set to the directory containing the program file:
./fs-uae ~/Documents/FS-UAE/Configurations/OS32.fs-uae
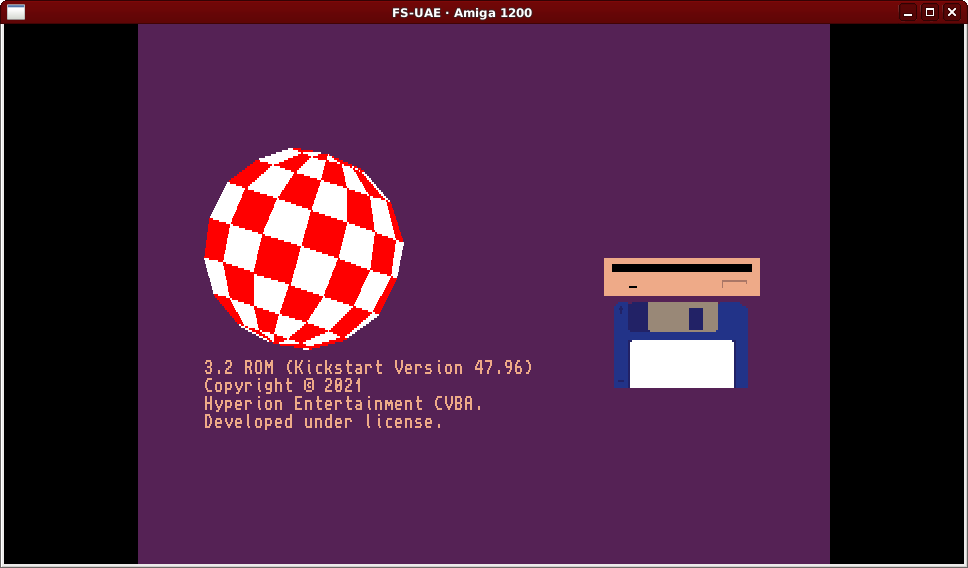
Well that looks a little different… There’s our “Version 47” reference!
Use FS-UAE’s F12 menu to “insert” the first floppy, Install3.2
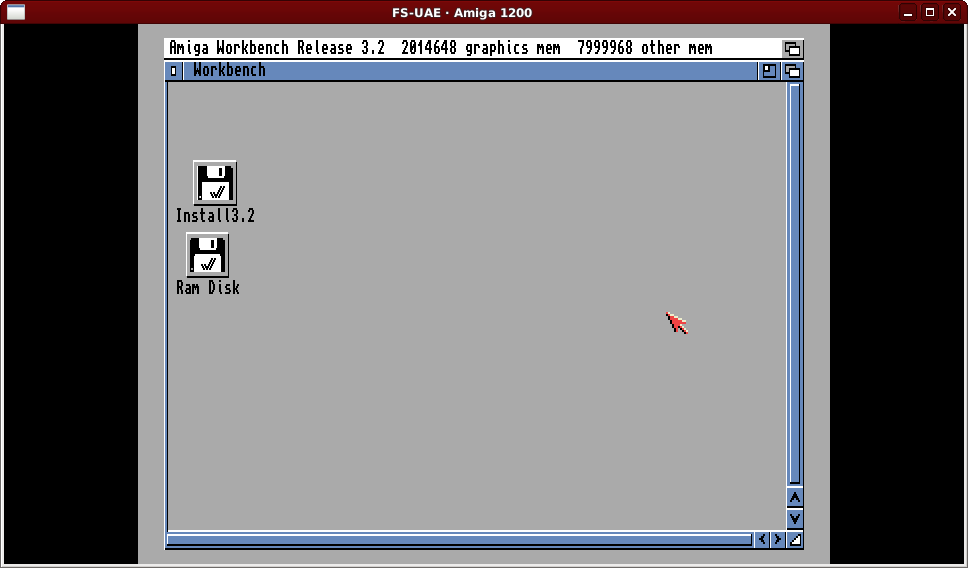
While AmigaOS 3.2 does include the “HDSetup” program we used for the 3.1 install, it has been given its own disk (as previously mentioned), so to save disk swapping (I’ve tried it) we’ll use the “HDToolBox” program still included on the Install disk. Double click on “Install3.2” and on “HDTools” to find it.
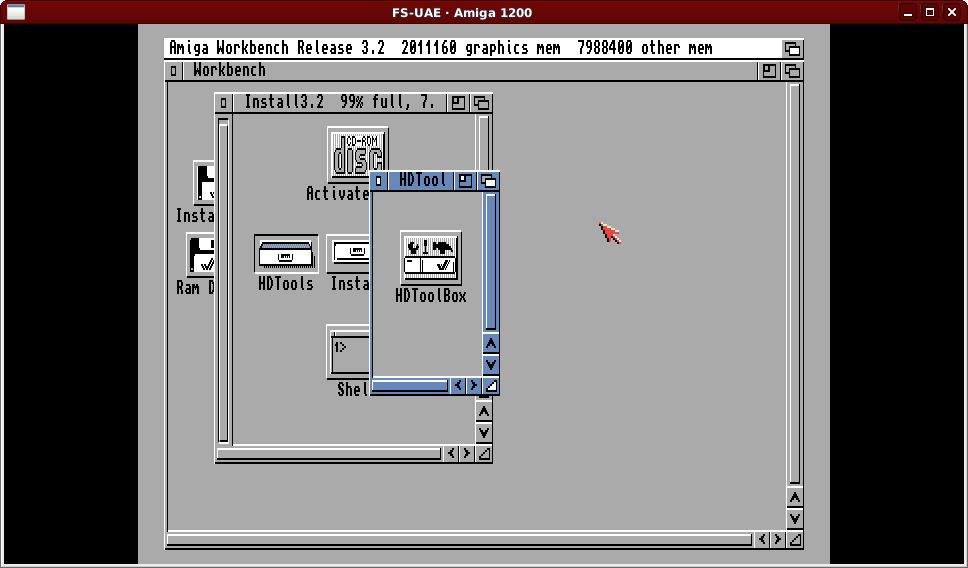
Double click on the HDToolBox icon and you will be presented with the main screen.
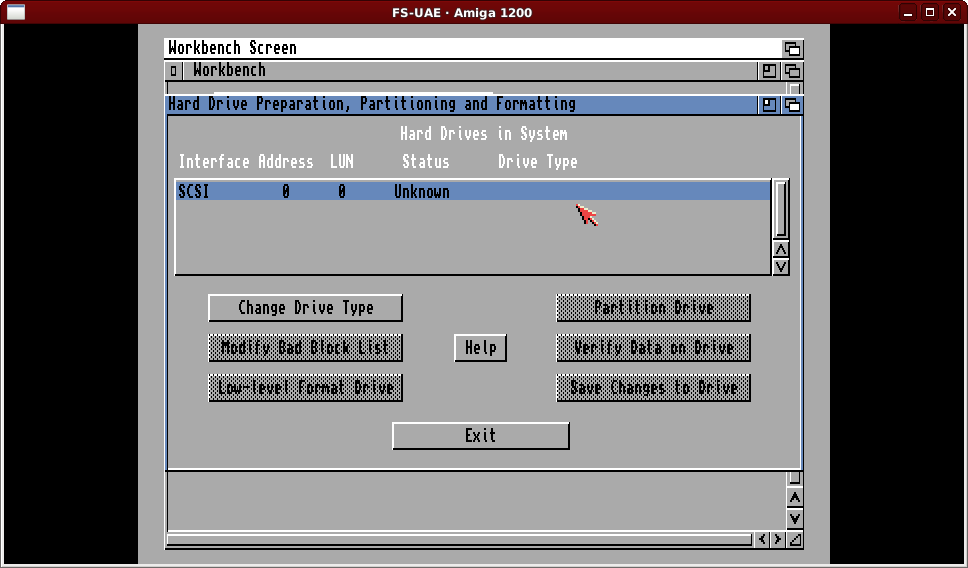
HDToolBox doesn’t “know” about the hard drive so we need to change it from an Unknown type. Thankfully this is largely automatic with the correct combination of button clicks. Click on the “Change Drive Type” button to start.
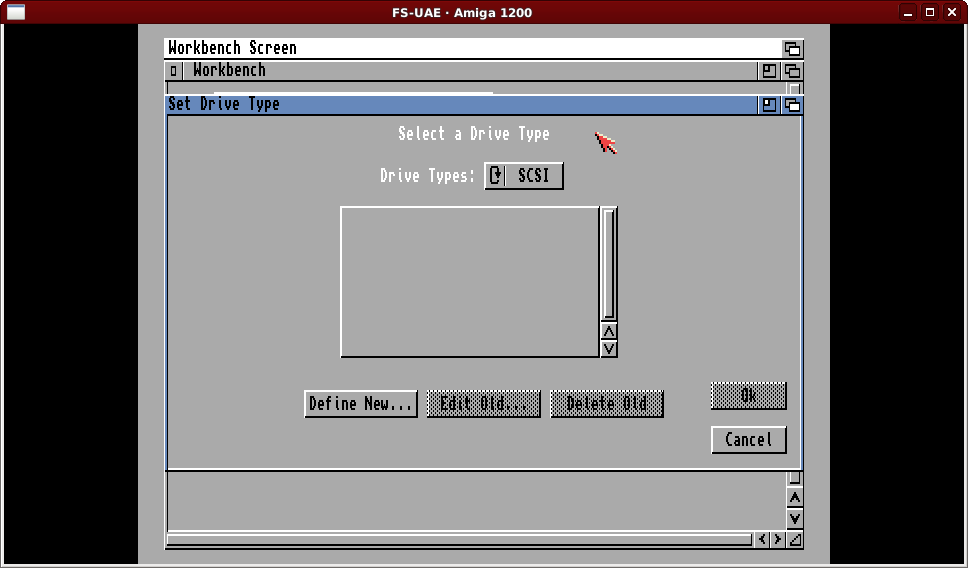
There are no drive types on a brand new system, so click on the “Define New…” button.
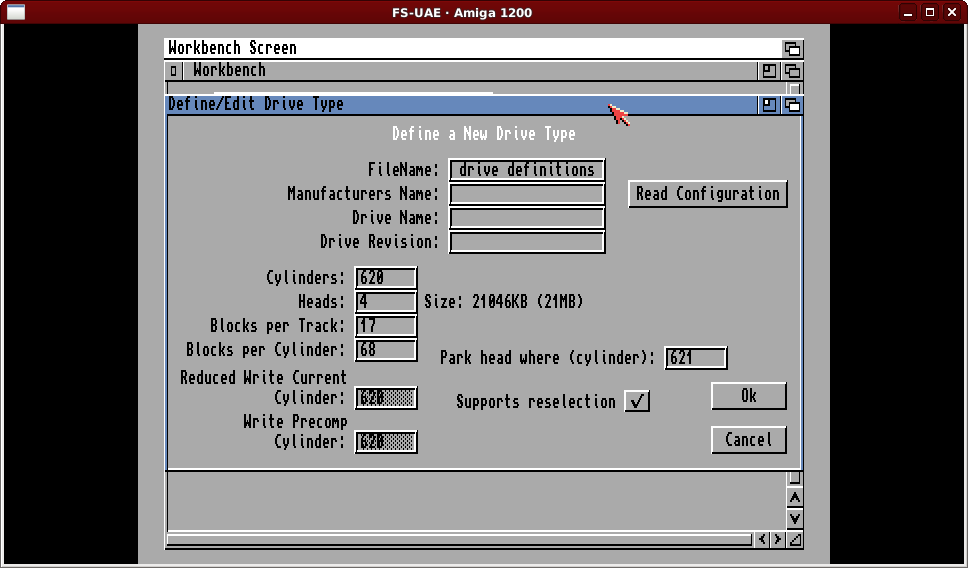
This daunting looking screen defaults to settings for a 21MB drive, but we want to define a 500MB drive. Luckily we can tell the emulated Amiga to read the configuration from the emulator with the “Read Configuration” button.
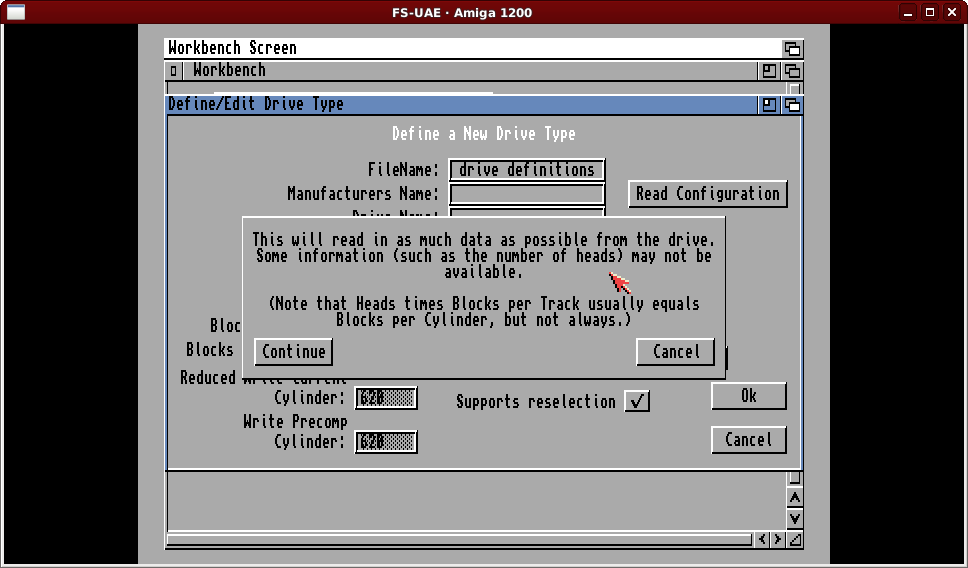
HDToolBox will tell you what it is about to do. Click “Continue”.
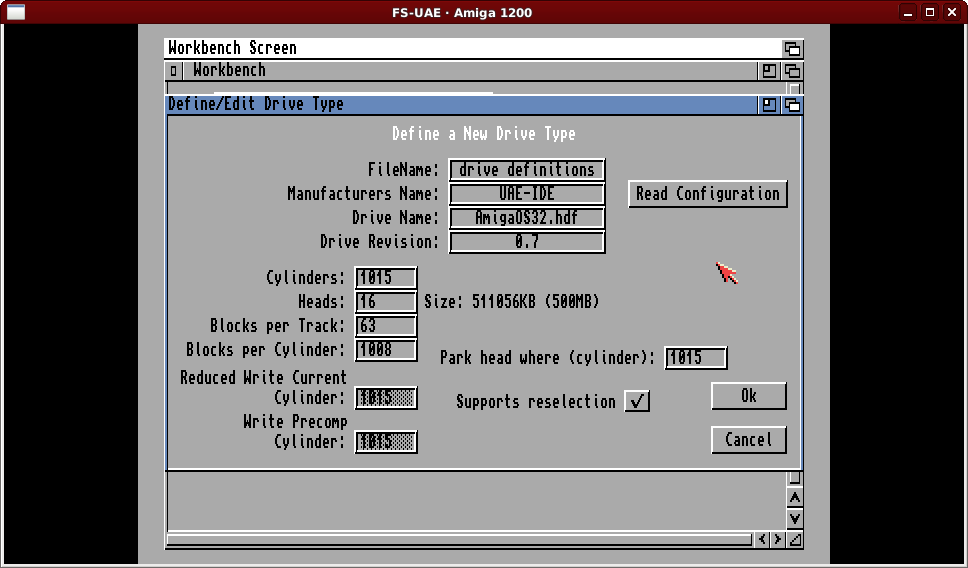
As you can see, HDToolBox has populated the window with lots of information, including the name of the hard drive file. This is a handy as a double check. If all looks good click on the “Ok” button.
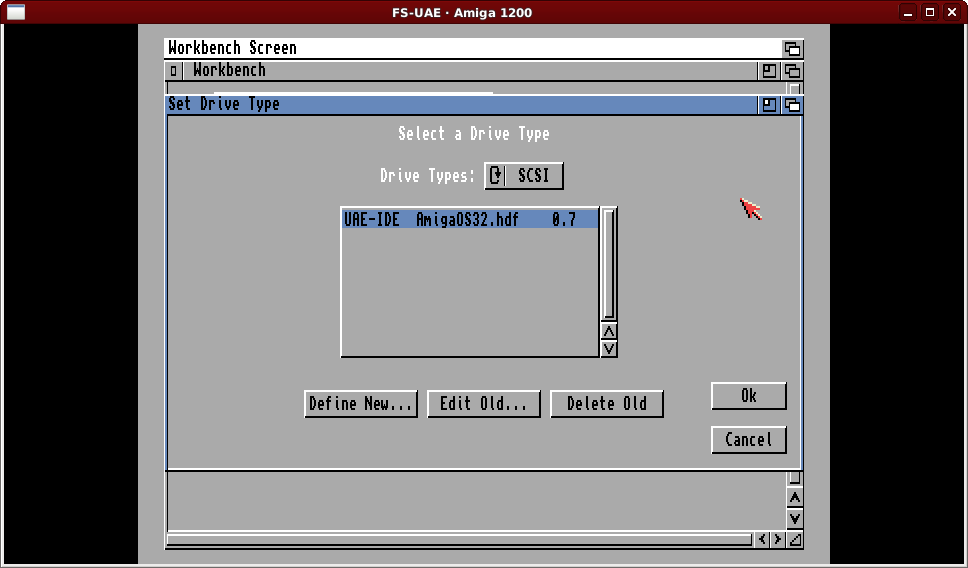
The drive type has been defined, and as this is the only entry it is “selected” so just click on the “Ok” button to proceed.
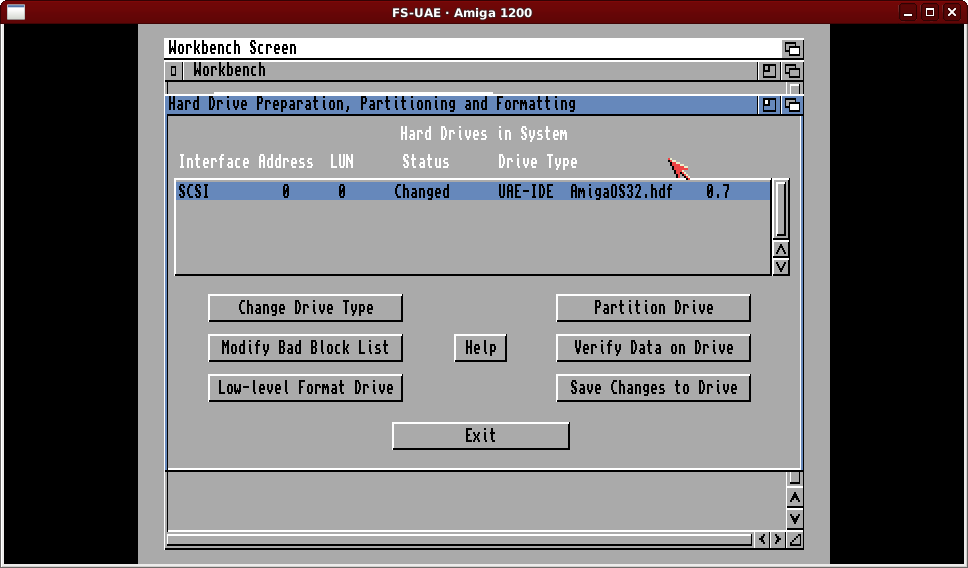
We have so far only told HDToolBox about the drive. We now need to create partitions on the drive to make it usable. Click on “Partition Drive” to do this.
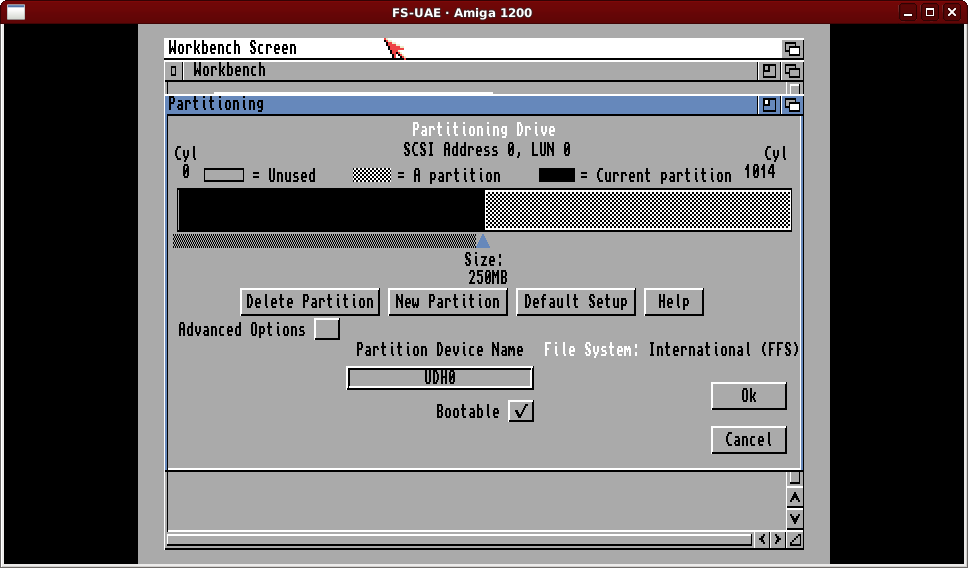
By default HDToolBox will split the drive into two equal sections, 250MB each. We’ll go along with this, but here is where we have the chance to set the device names to a “more familiar” convention. Click on the partition device name box and change “UDH0” to “DH0”
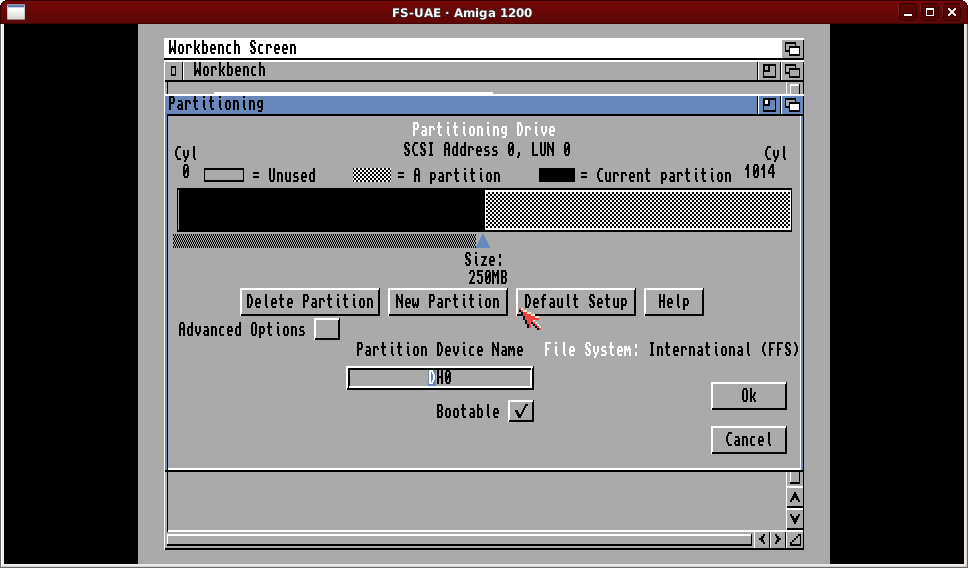
We don’t need to “save” the setting, we just need to switch to the second partition by clicking on the grey part of the graphic.
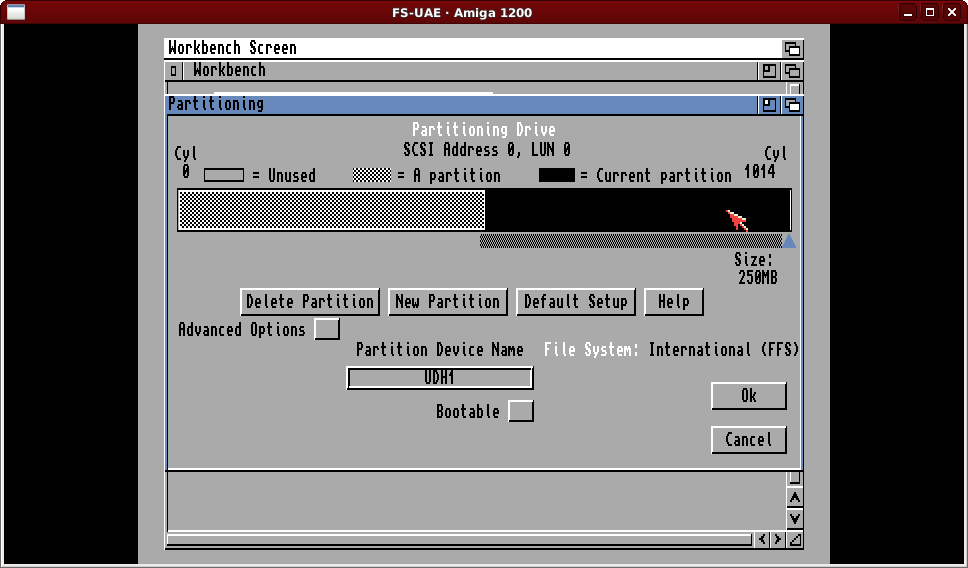
As you can see the default device name for this is “UDH1”, so click on it and change it to “DH1”. Then click on “Ok”. On the main screen click on the “Save Changes to Drive” button.
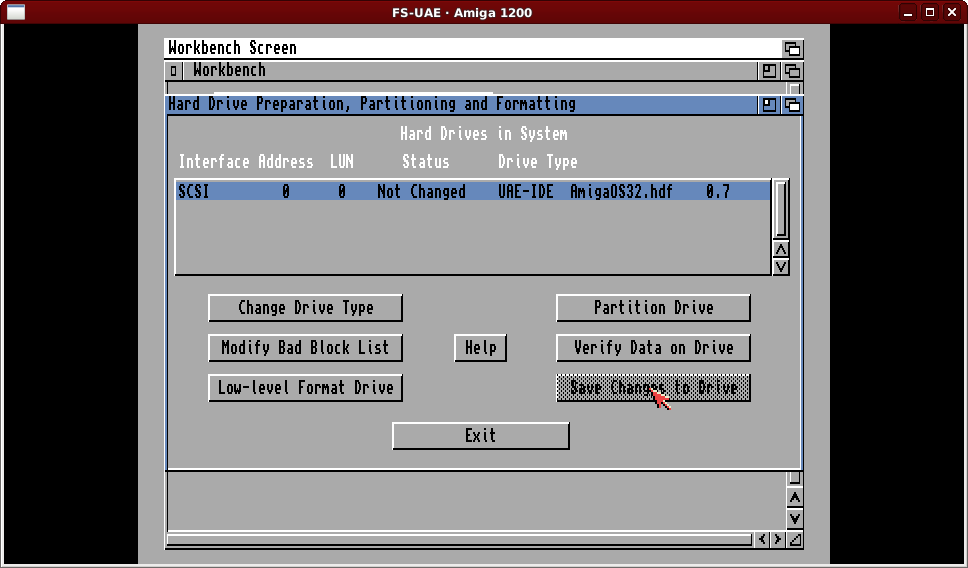
Once changes are saved the status will read “Not Changed” and the button to save changes will be disabled. We can now “Exit” from the HDToolBox program.
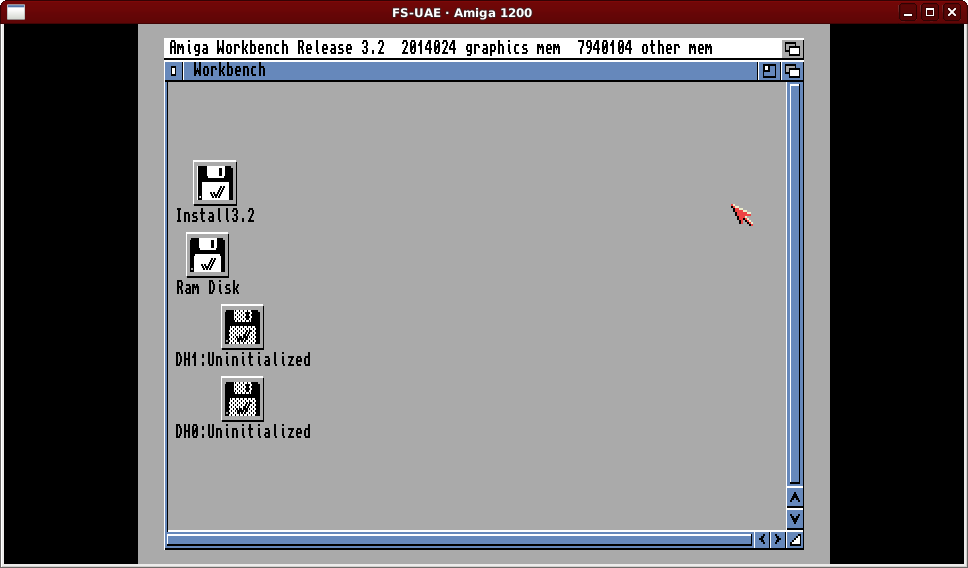
These partitions now need to be formatted so click (left mouse button) on “DH0:Uninitialized”, then click and hold on the right mouse button and point at the “Icons” menu.
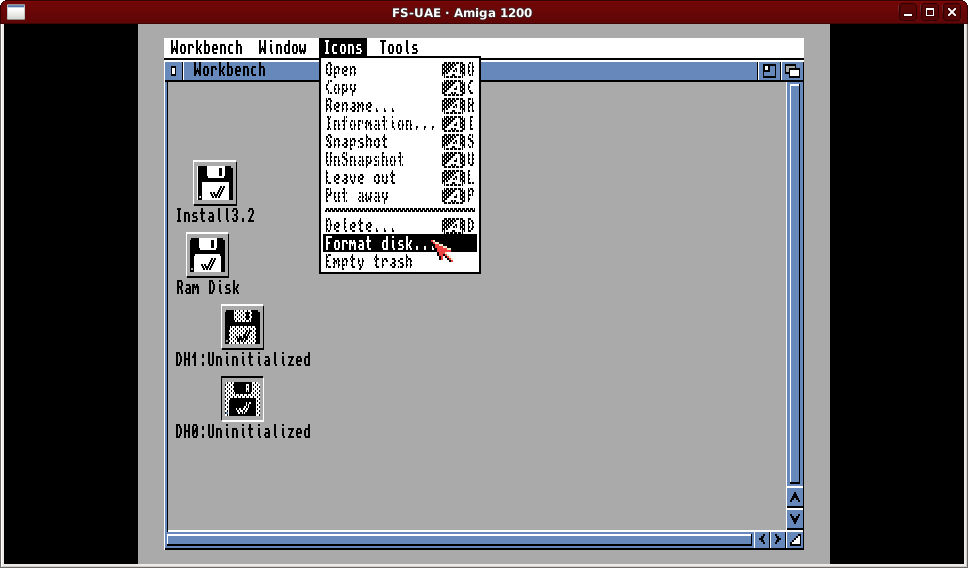
Move down to “Format disk…” and release the mouse button to launch the format tool.
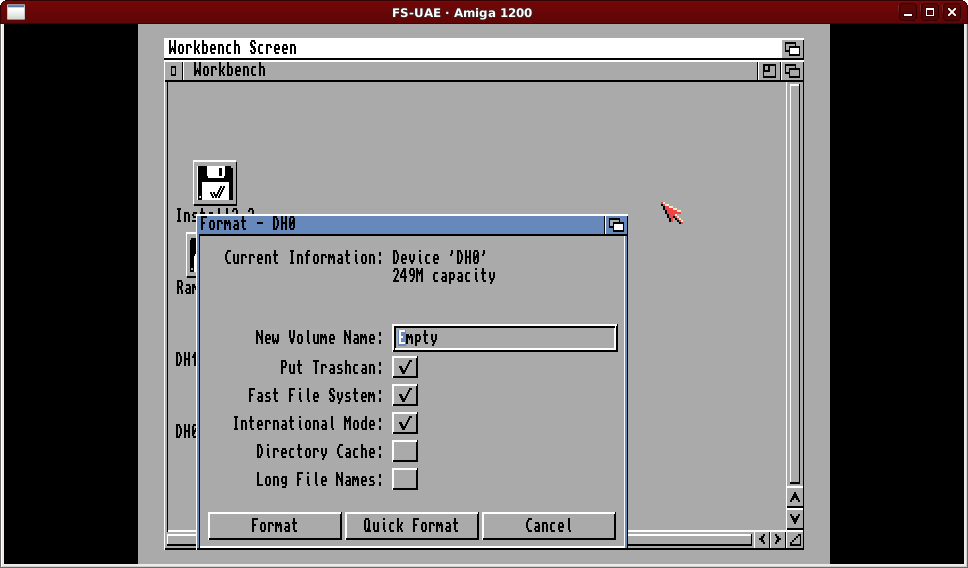
By default the format tool will name the disk “Empty”. For DH0 we want to name it “Workbench”, so click and change it.
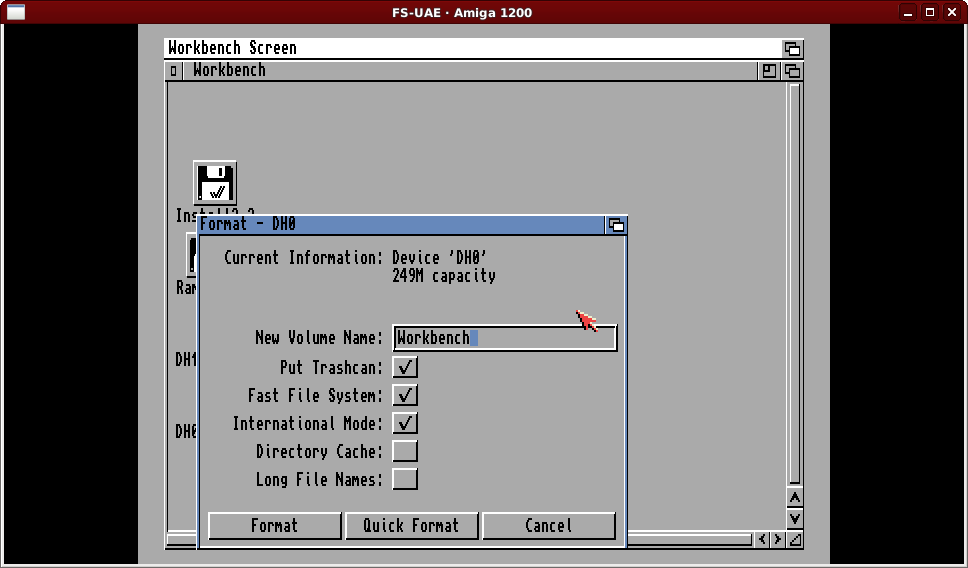
After typing in the name, click on the “Quick Format” button. On a real drive we would instead most likely click on “Format” to check for errors, but in an emulated environment the quick option will be perfectly reliable.
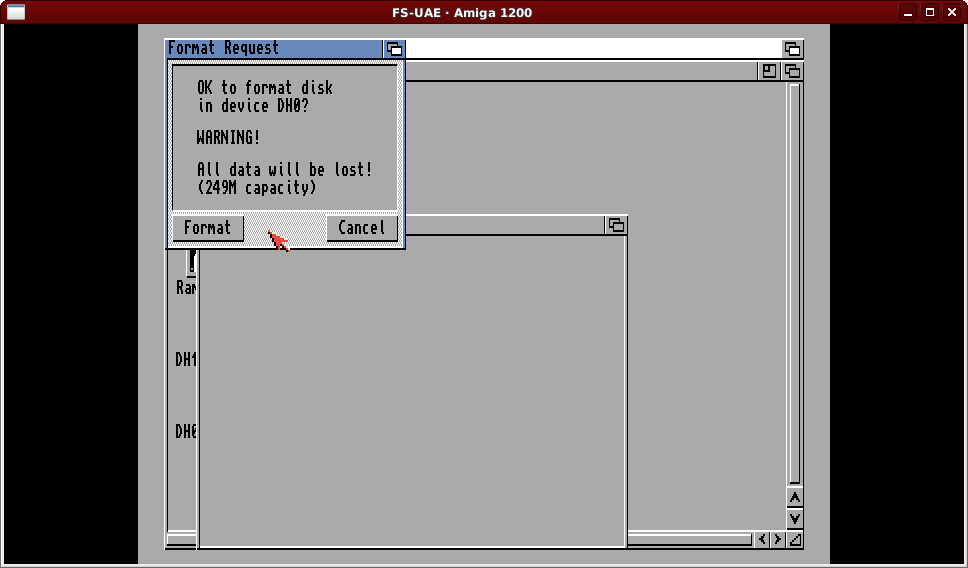
The tool will give you a warning. There is no data to lose on an freshly partitioned disk, so click on the “Format” button.
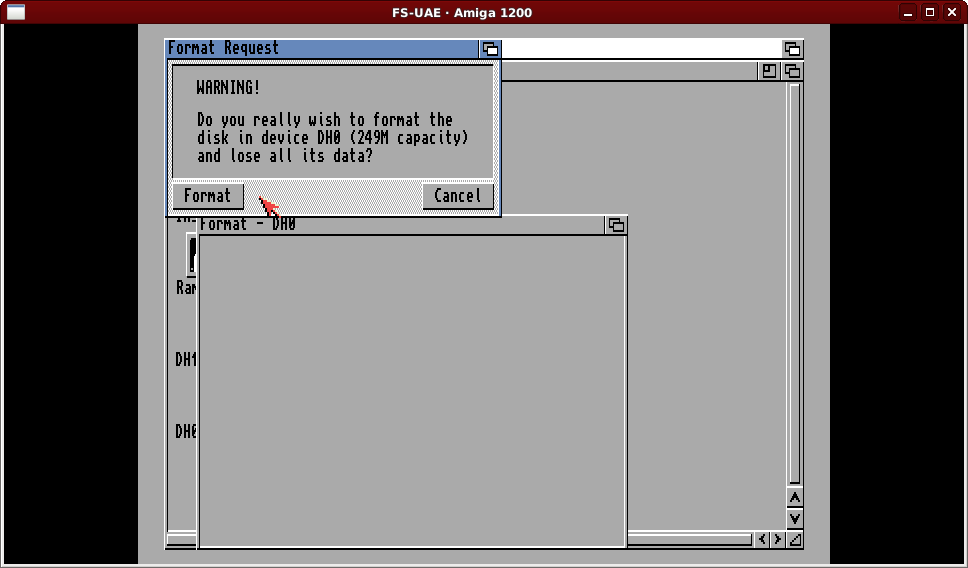
Because of the severity of the action the format tool undertakes you are given a second chance to back down. Again click on the “Format” button.
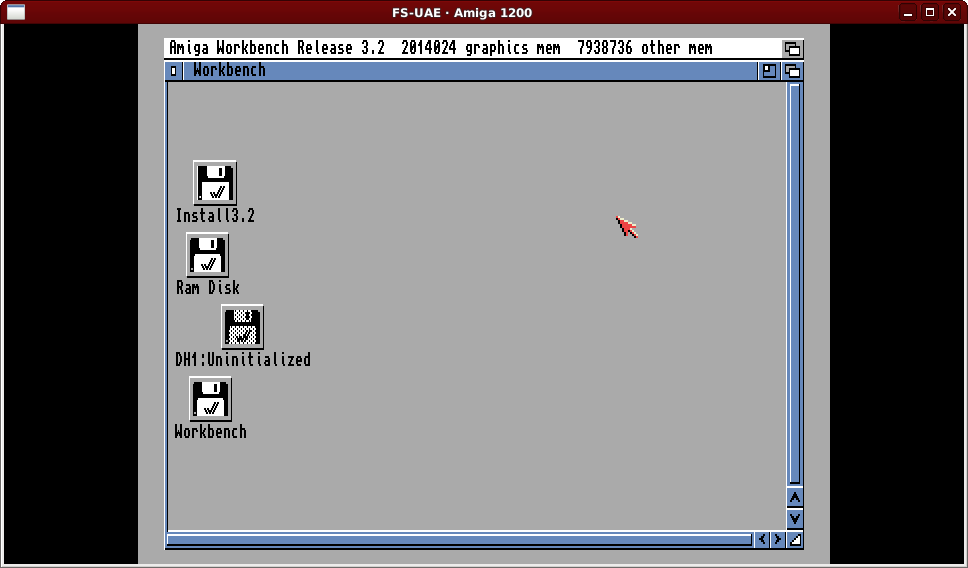
Once complete the DH0 icon’s name will change to “Workbench”. Now we want to do the same process with “DH1” but this time giving it the name “Work”, per standard Amiga convention.
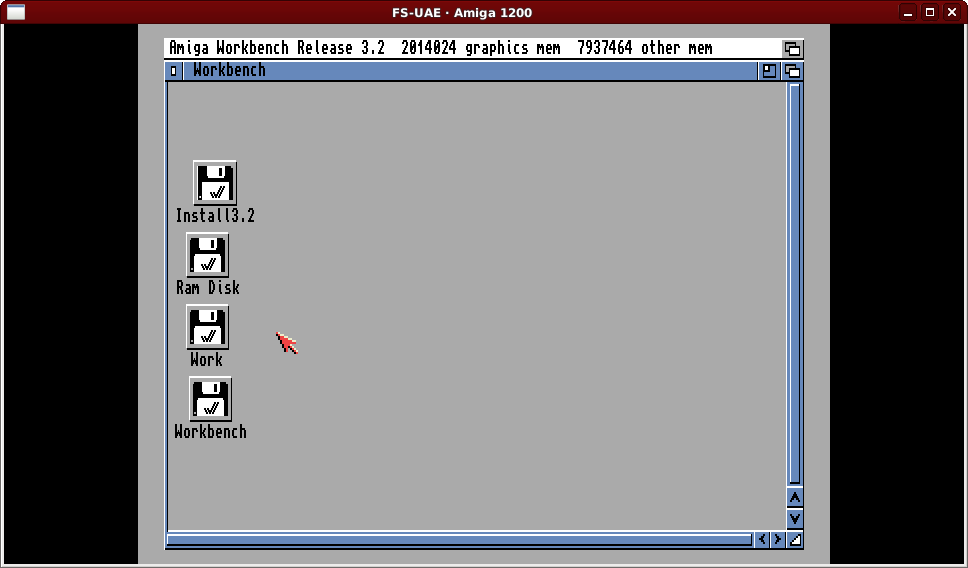
Now we have prepared the hard disk (file) we can start the install process. Double click on the “Install3.2” disk icon and then the “Install” drawer icon.
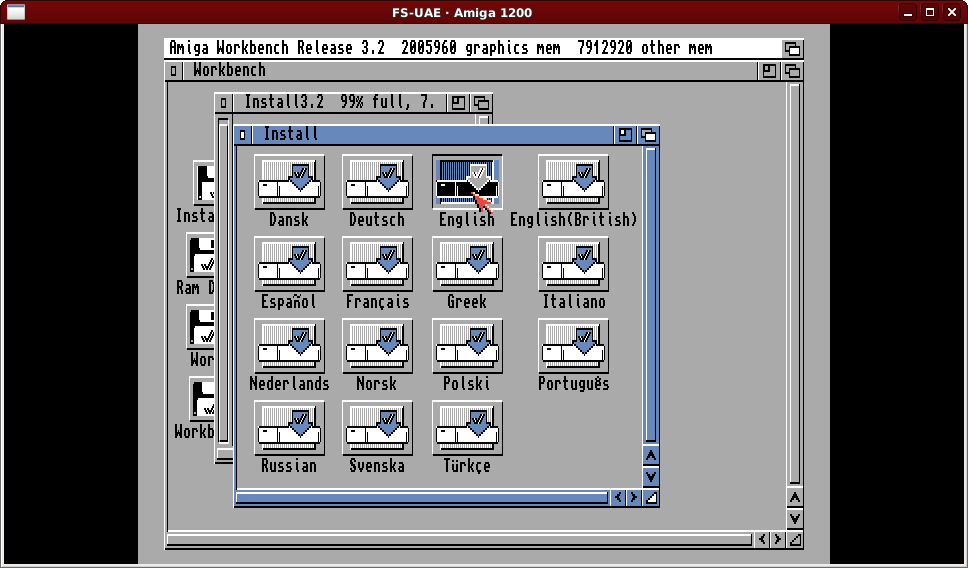
To reduce on disk swapping, much like the 3.1 process, we will select the “English” option. That “English(British)” option was so tempting…
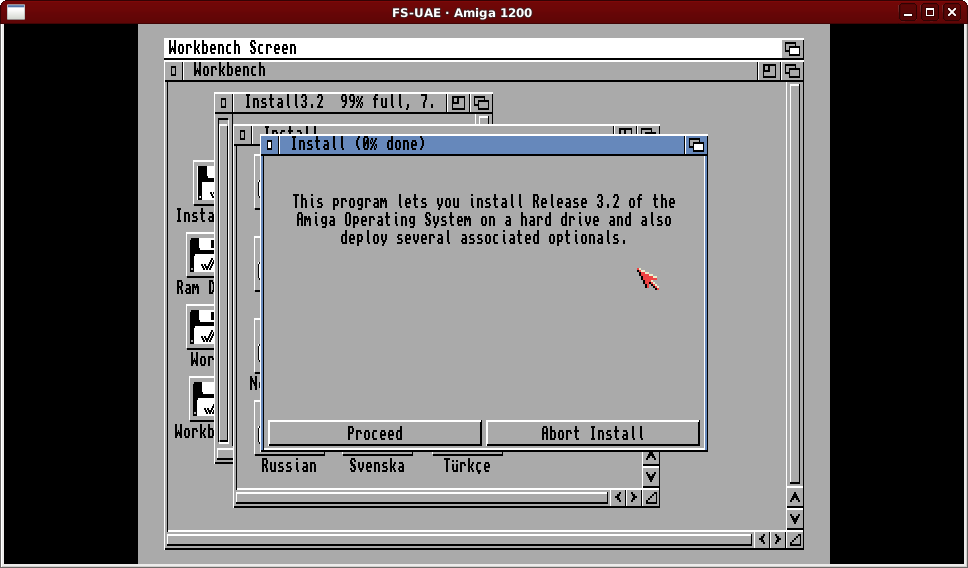
You’ll be presented with an initial window, just click on “Proceed”.
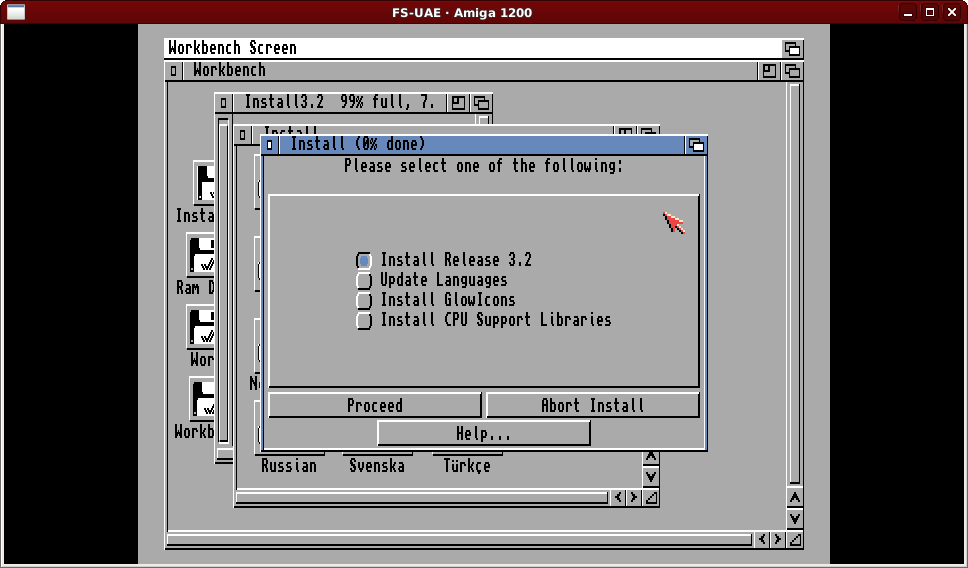
The install program is multi-functional, but for now leave it at “Install Release 3.2” and click on the “Proceed” button.
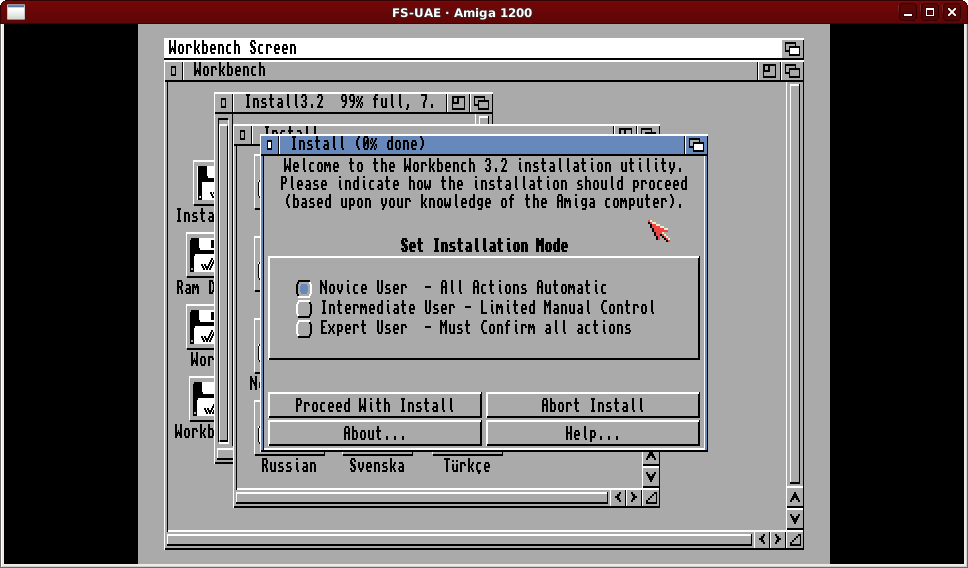
For reasons of simplicity, leave the install mode at “Novice User”. On real Amiga computer I used to always select “Expert User” so I would know everything the installer was doing, but for the purposes of this guide there are quite enough steps as it is. Click on “Proceed With Install”.
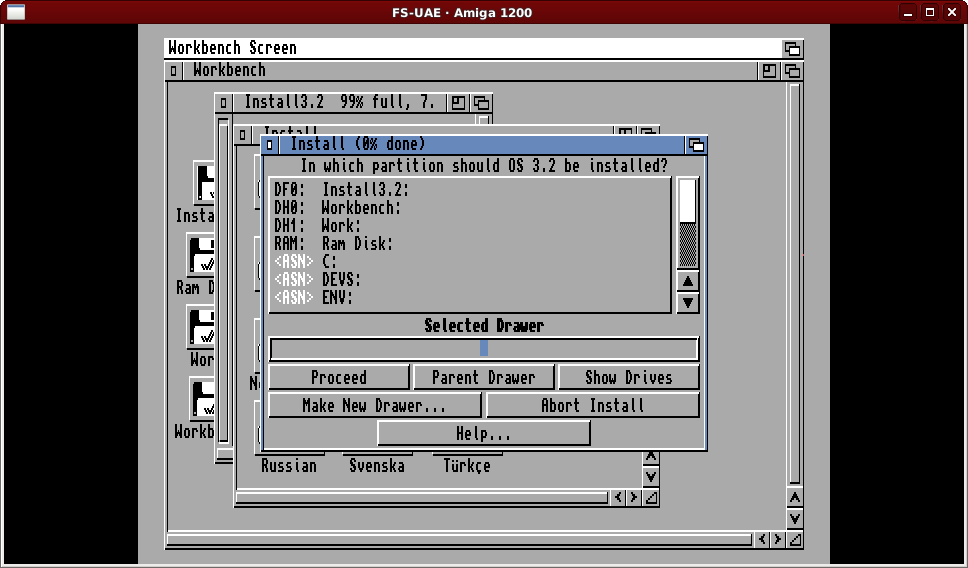
Now we need to tell the installer where to install the operating system, click on the “DH0: Workbench:” line.
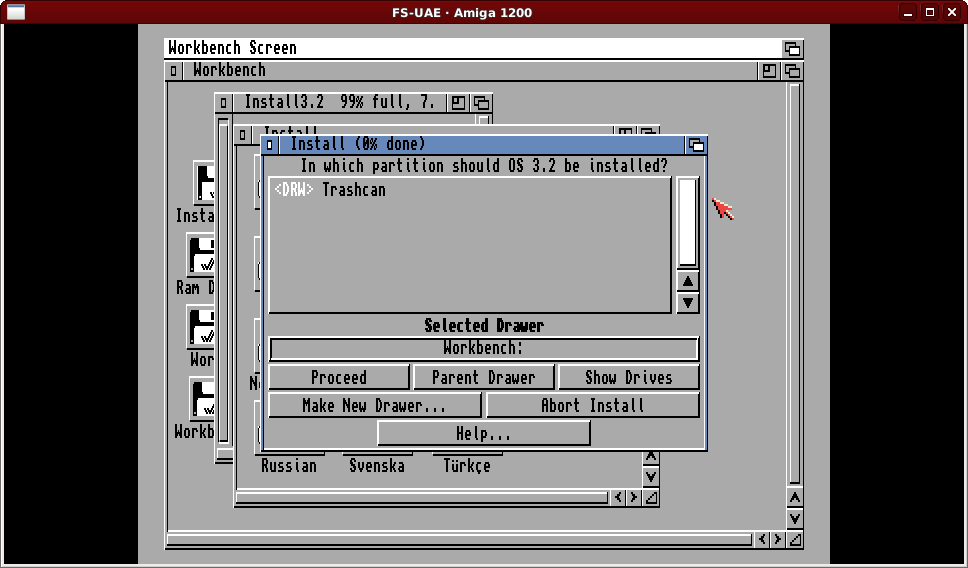
With the selected drawer showing “Workbench:” click on “Proceed”.
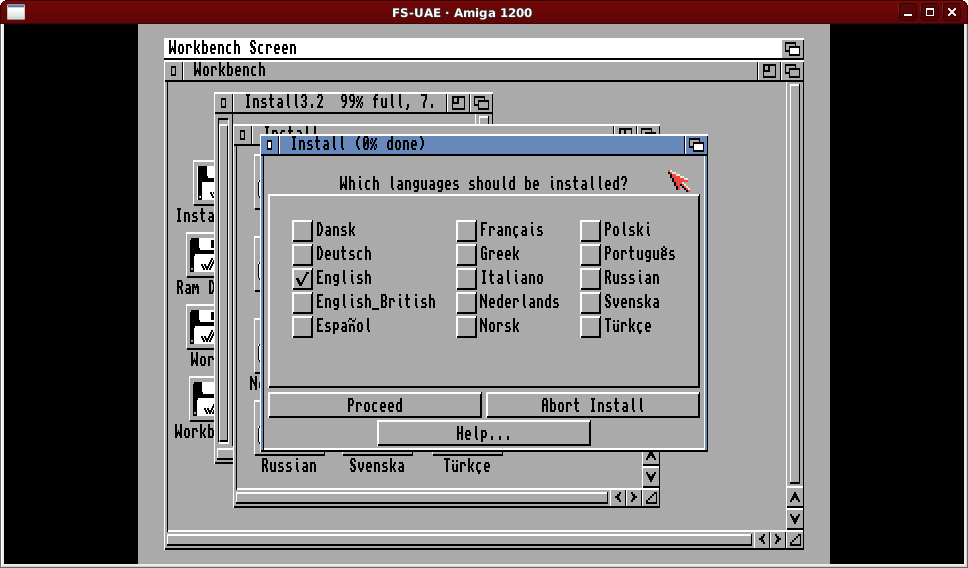
Stop tempting me installer! Leave the languages selection as just “English” selected and click on “Proceed”.
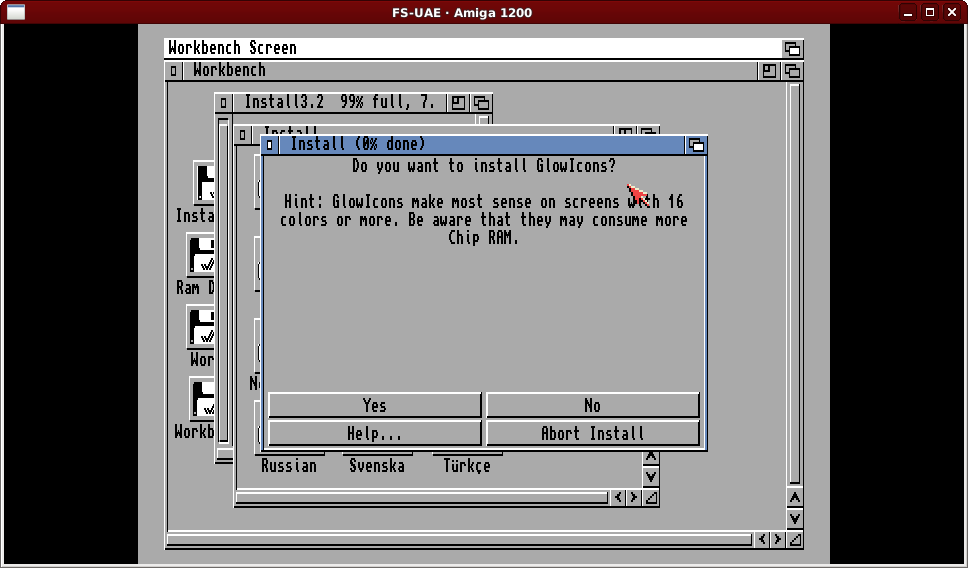
We do not want to install/use GlowIcons in this test, so click on the “No” button. This would require an extra floppy disk to have been configured in FS-UAE. We’ve seen we can “go back later” if we want.
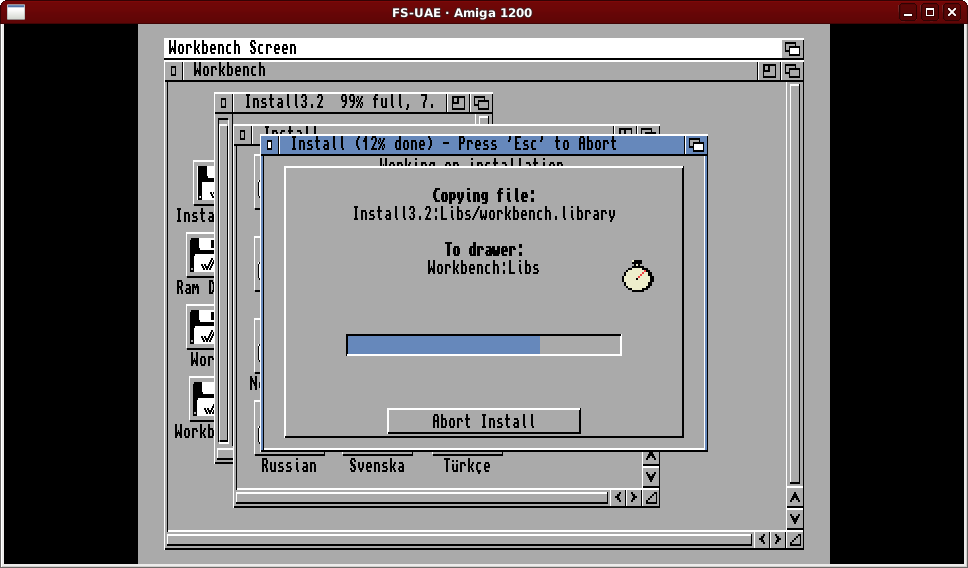
The installer will start copying files from the first install disk. In 3.1 it copied a bunch of files at the end instead. Eventually it will need the next disk.
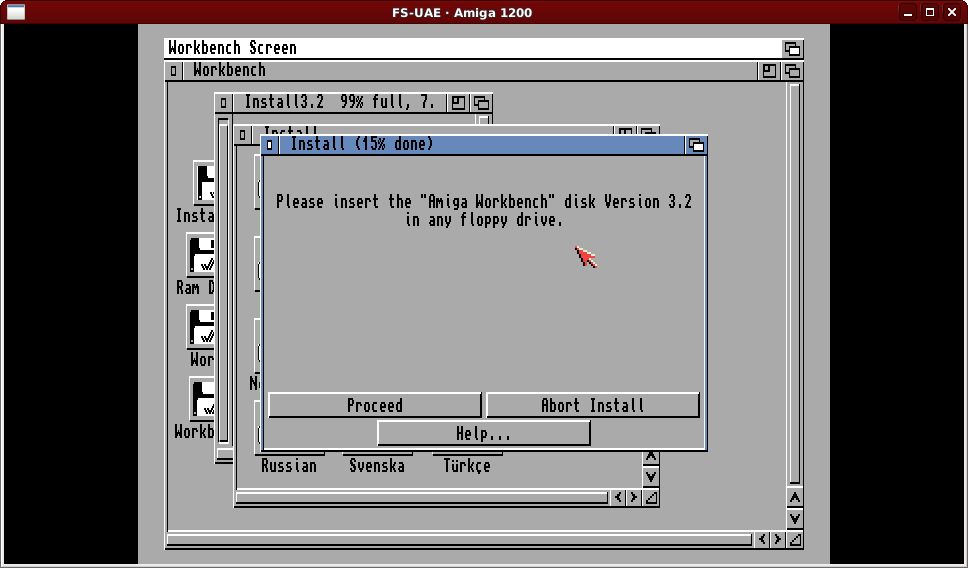
Use the FS-UAE F12 menu to insert “Workbench3.2.adf” and let the installer find the disk itself. After short time another disk request.
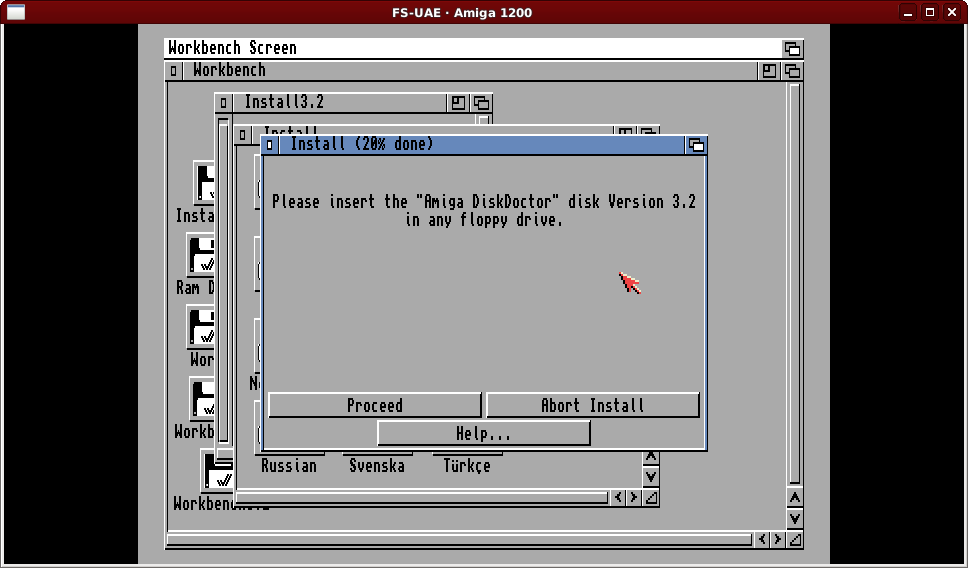
A new entry in the disk set compared to 3.1, DiskDoctor. Use the F12 menu to insert “DiskDoctor.adf”… again later another request…
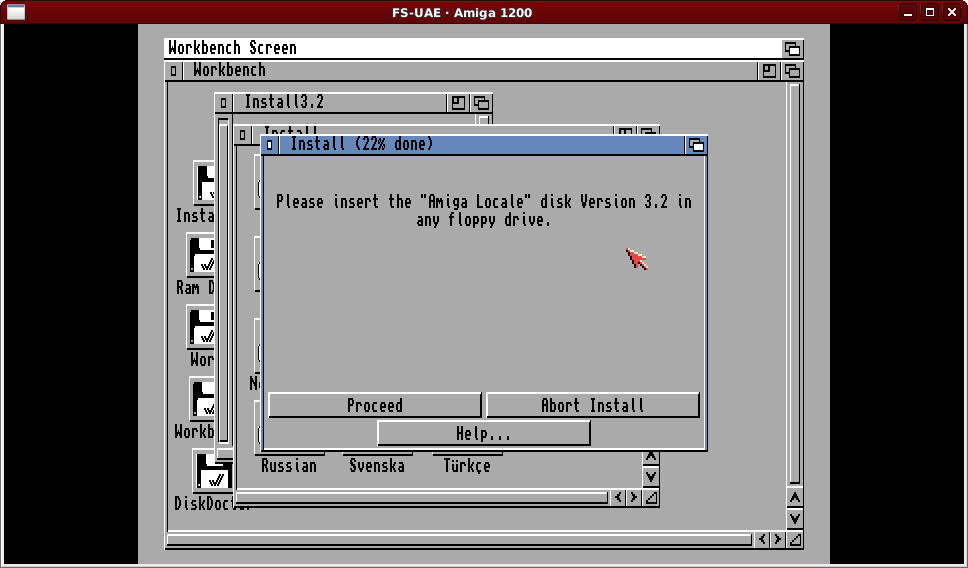
F12 again, for “Locale.adf”, then after a short while another request…
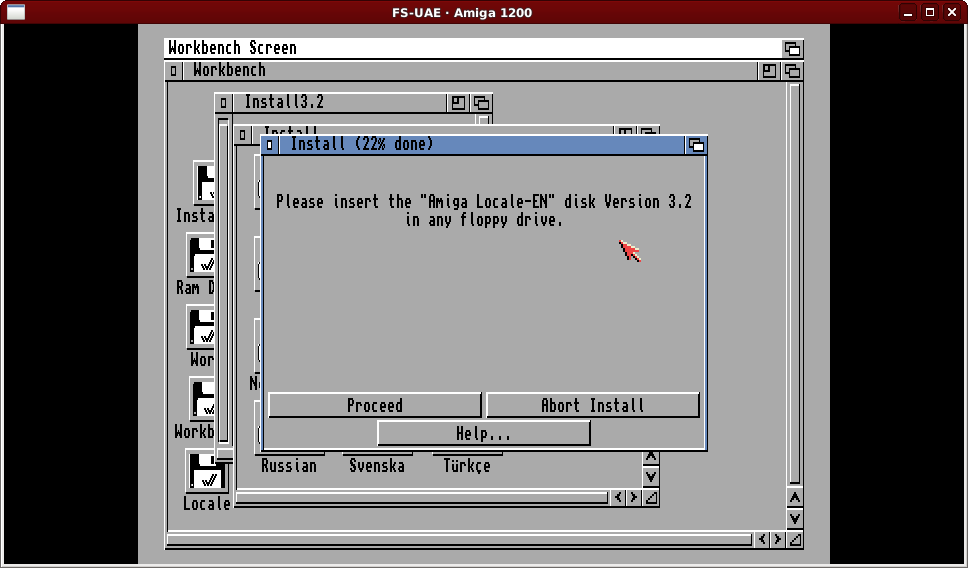
This is where if you select multiple languages you need multiple floppy disks, none of which were part of 3.1. This is to support the new “help system” of 3.2. We chose just English so we only need to F12 insert “Locale-EN.adf” here. This disk takes some time, but eventually…
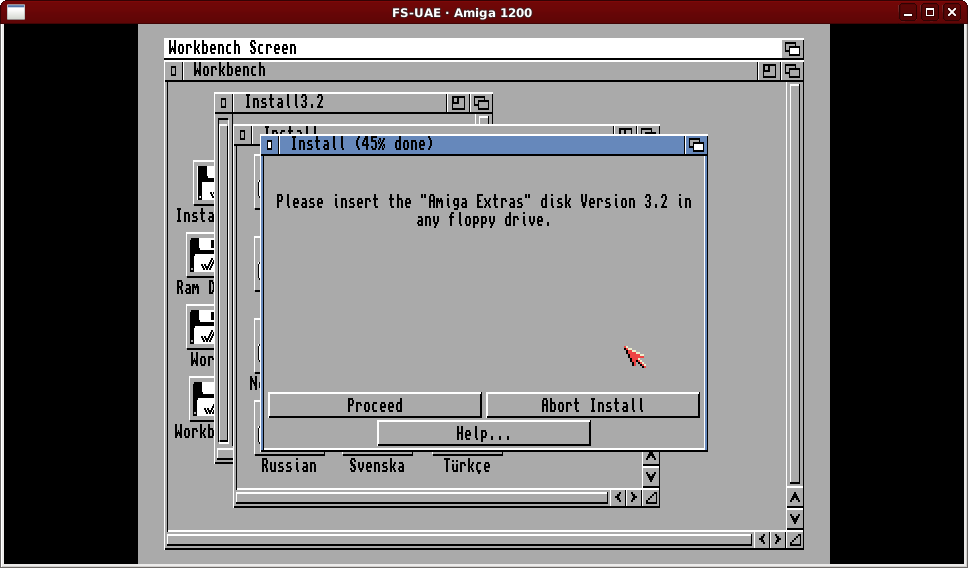
Back to familiar territory, F12 insert “Extras3.2.adf”… More file copying then…
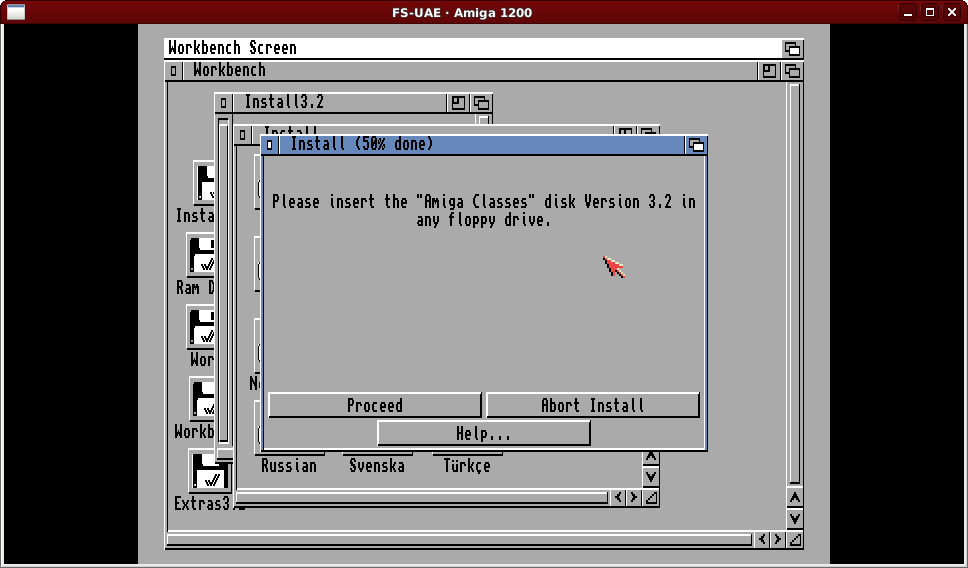
This is another new disk. AmigaOS 3.2 has uses a new UI layer called ReAction and this disk contains “gadgets” for ReAction based applications. F12 insert “Classes3.2.adf” to continue until the next request.
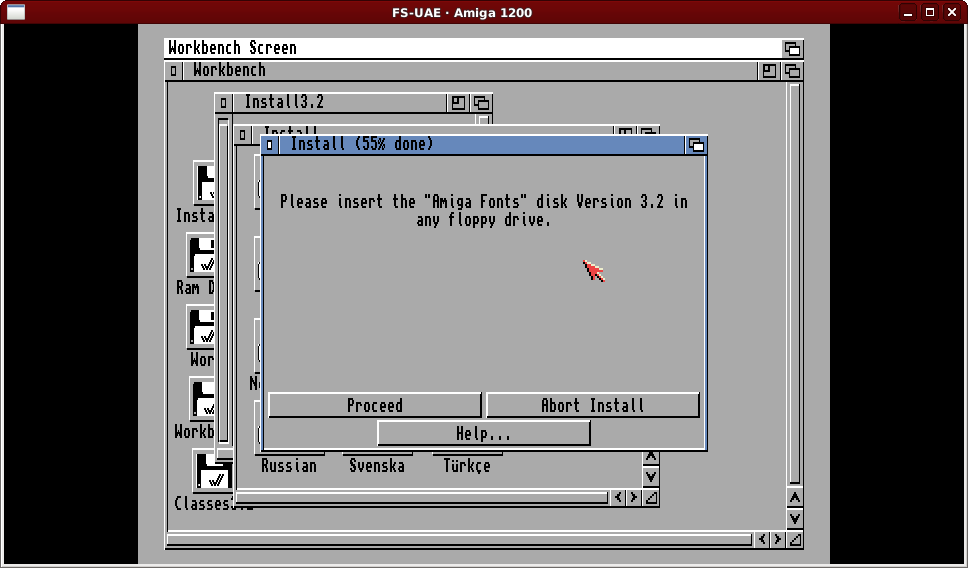
Back to familiar territory again, F12 insert “Fonts.adf” to continue.
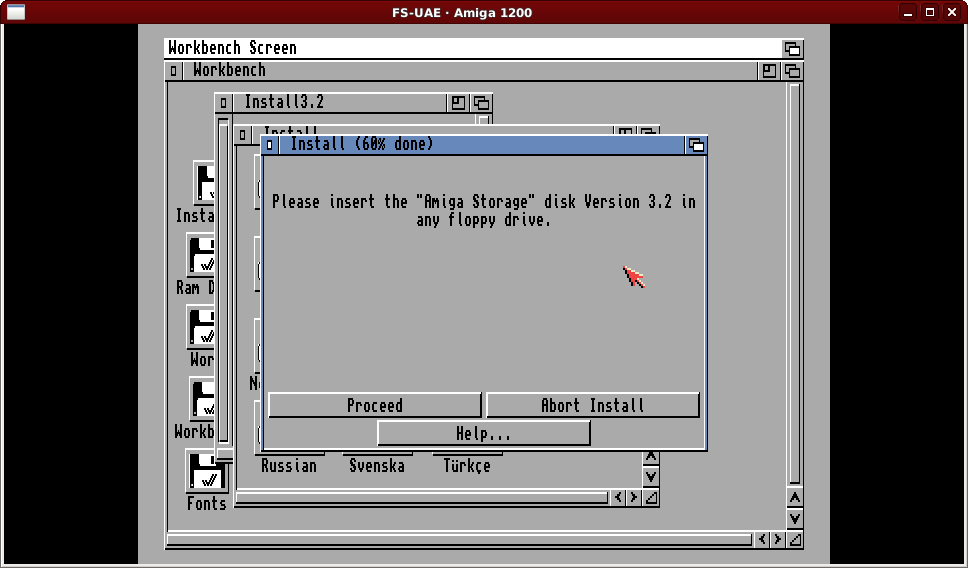
Another familiar disk. F12 insert “Storage3.2.adf” and wait for the next request.
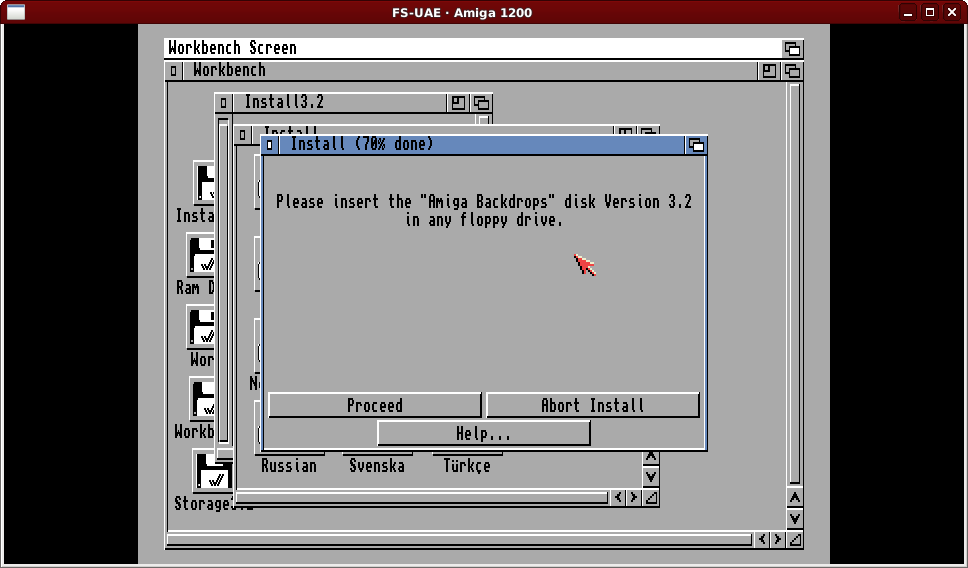
AmigaOS 3.2 allows you to have full pictures as the Workbench window background. F12 insert “Backdrops3.2.adf” to continue and a few different resolutions of an AmigaOS 3.2 image will be installed.
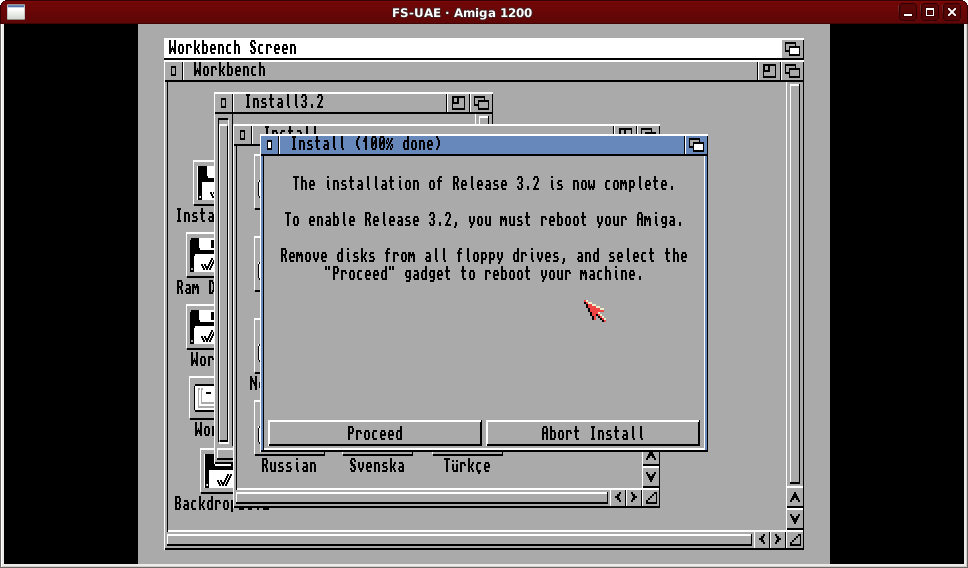
As mentioned earlier, the 3.2 install routine doesn’t copy files from the install disk at the end, so once the last disk is inserted you do not need to “loop back” any more. Time to F12 eject the last disk (backdrops) and click on “Proceed” to reboot the Amiga.
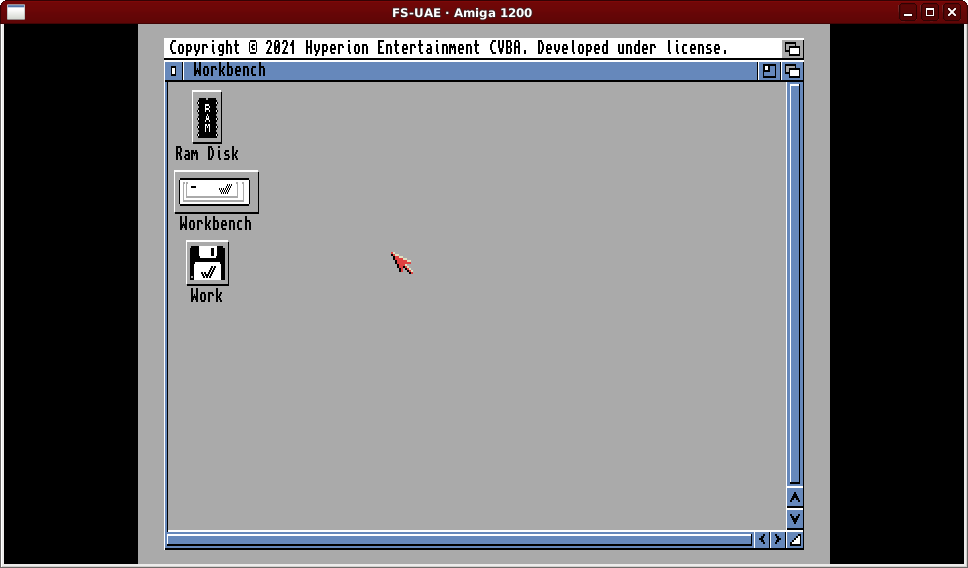
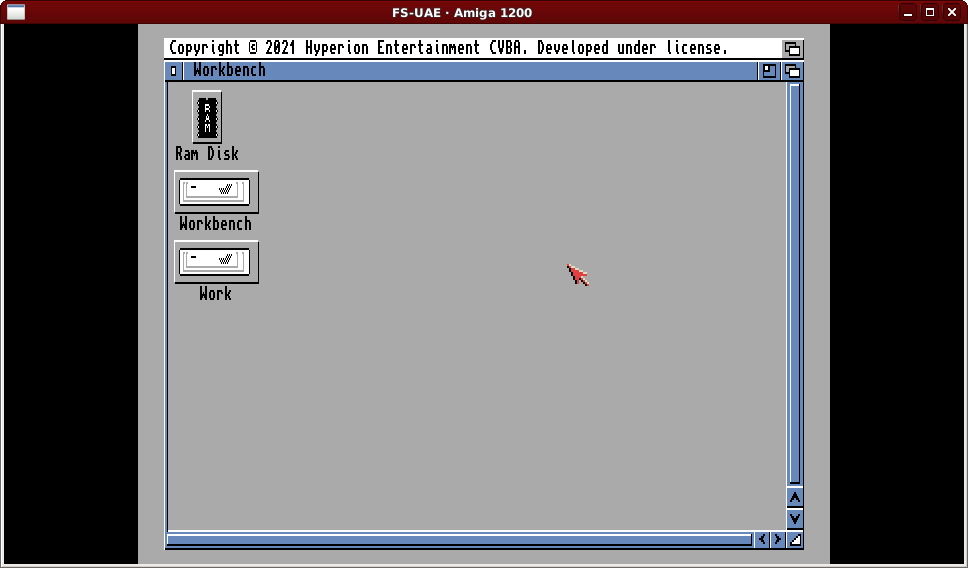
First off, note the “Ram Disk” icon is no longer a floppy disk! Nice! Sadly nothing has set the icon for our second partition, Work. Double click on the Workbench drive, then on System to find “Shell”.
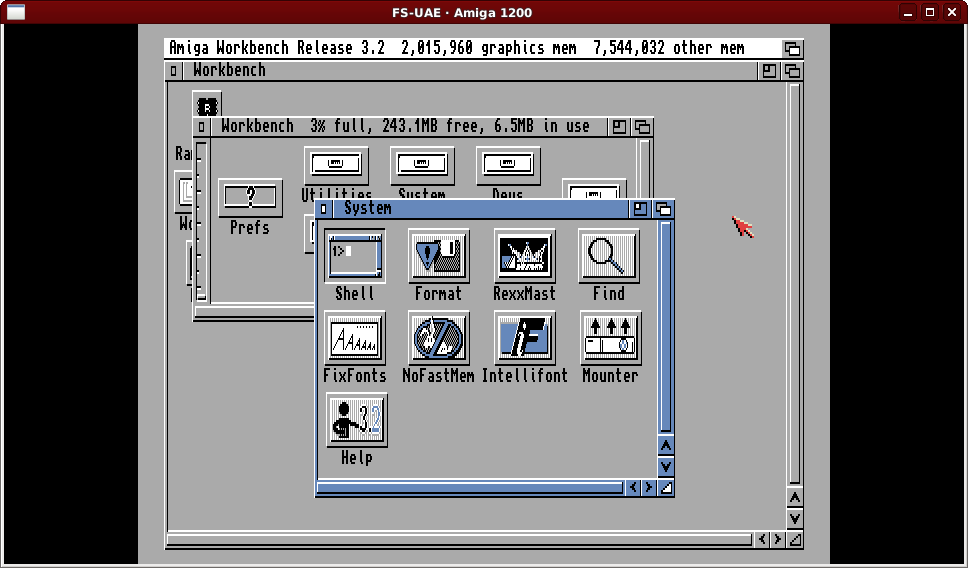
Double click on the Shell icon and you’ll see an “AmigaShell” window, by default larger than on 3.1 (default size a leftover from 1.x).
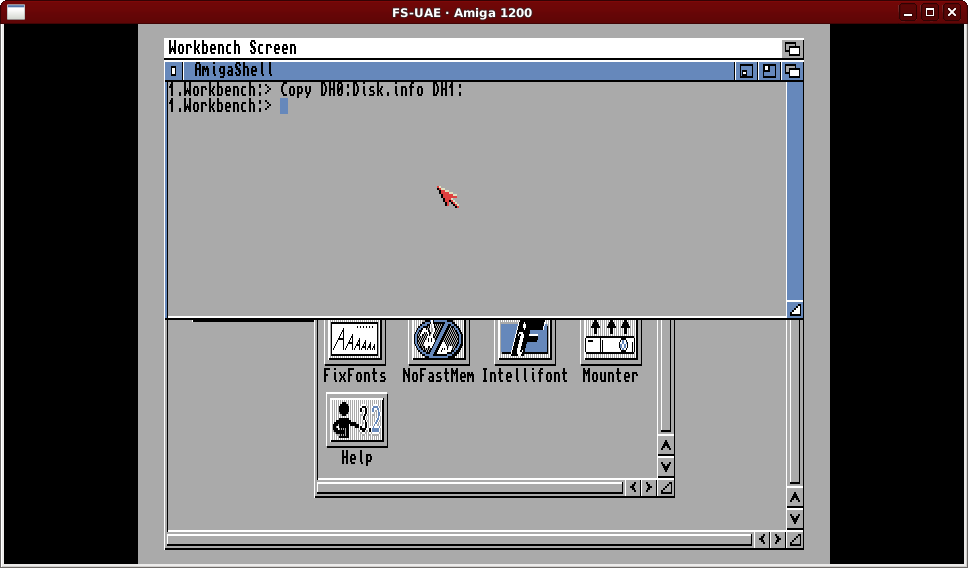
The command above copies the hard drive icon from the Workbench (DH0) drive to the second drive. Here is where we can try a new feature of AmigaShell.
Copy DH0:Di<tab>DH1:
After typing the “Di” of disk, press the Tab key, and the rest of the name will be “auto completed” and a space added, and you can just enter “DH1:” to complete the command.
After this use the Ctrl-Windows-PageDown FS-UAE equivalent of the Ctrl-Amiga-Amiga three finger salute to reboot and see all the icons.
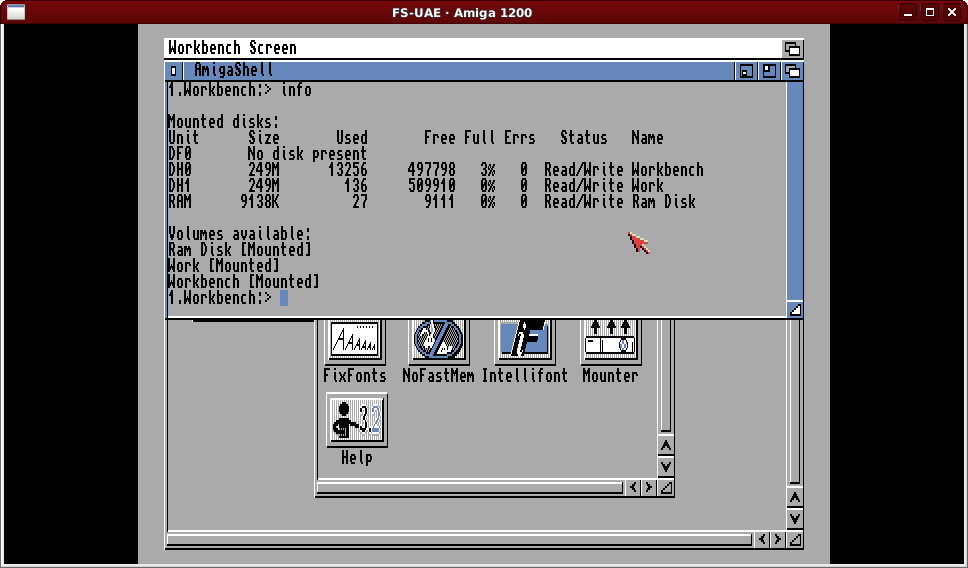
If you bring up AmigaShell and issue the command “info” you can see the disk space used, in half-K chunks (sectors). An approximate 3% used of 250MB partition, rounded down to 249M due to system usage.
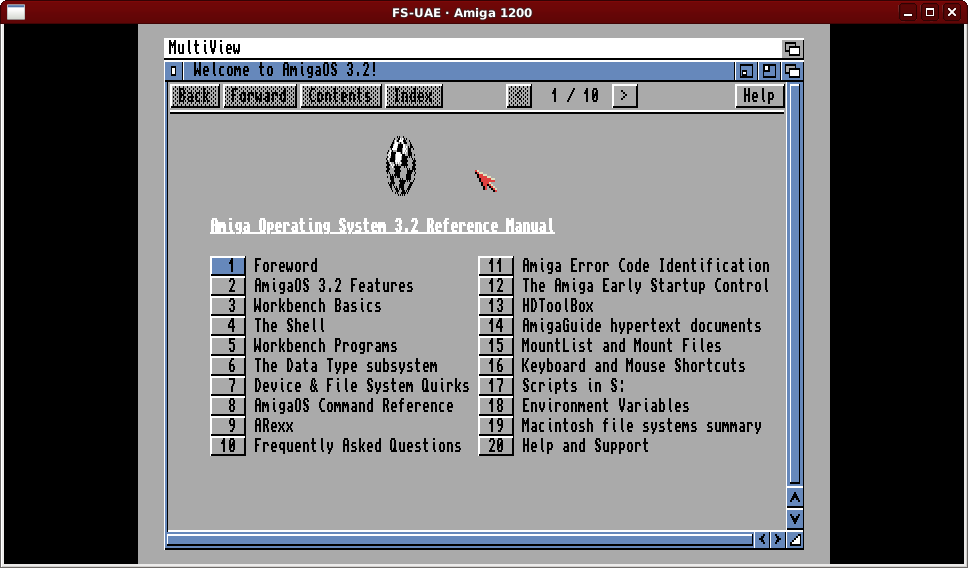
In the System drawer is a “Help” icon which shows a “Welcome to AmigaOS 3.2” AmigaGuide file.
At this point you may be tempted to start following the setup process used to setup our “AmigaDev” environment. Remembering how we changed the AmigaShell window size, we will do that here, and…
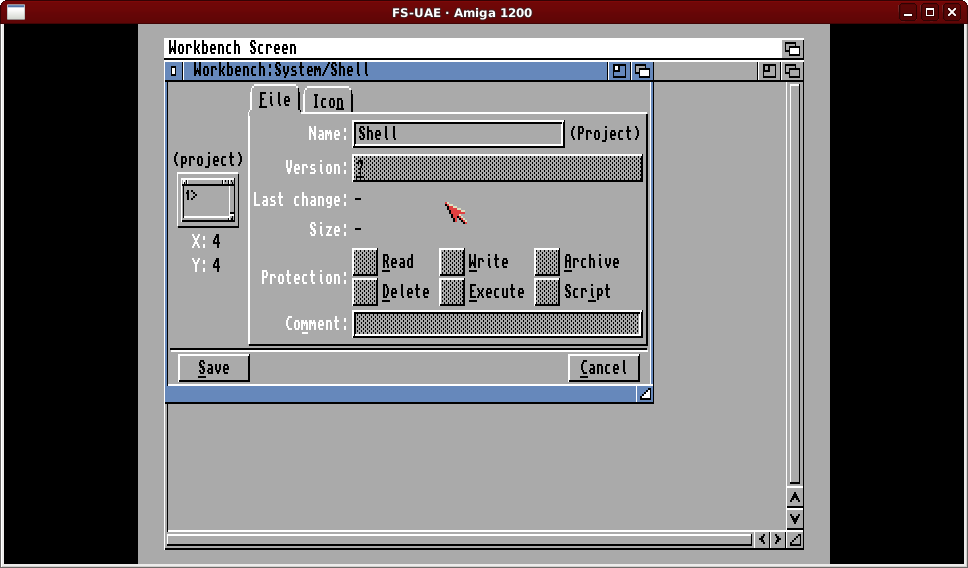
Well this looks different. AmigaOS 3.2 breaks the information into multiple “tabs”. The information we want to change is on the “Icon” tab.
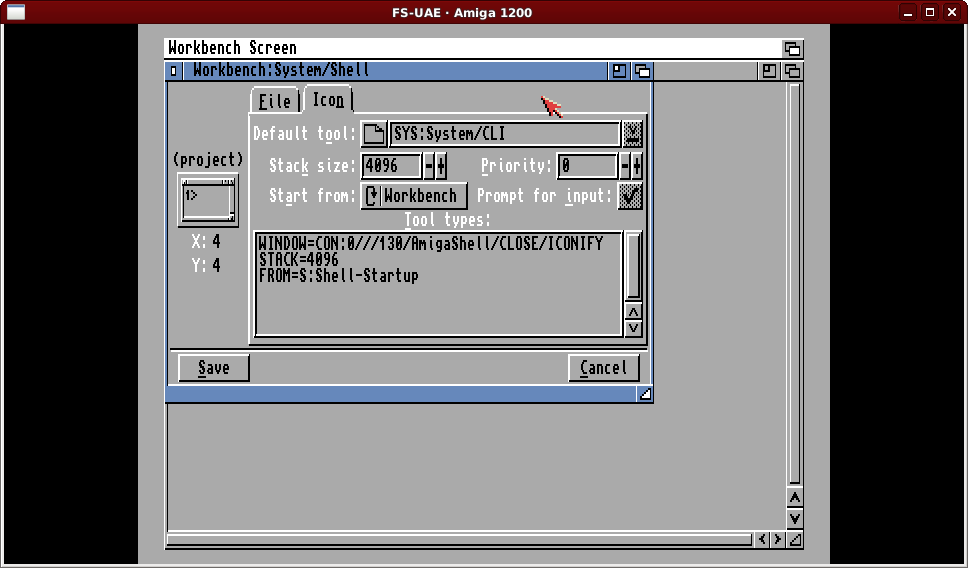
See here the slightly different “WINDOW=” line to the 3.1 Shell default. Another nice change is these “tool types” are directly editable, so just click and adjust the “130” value to “256”
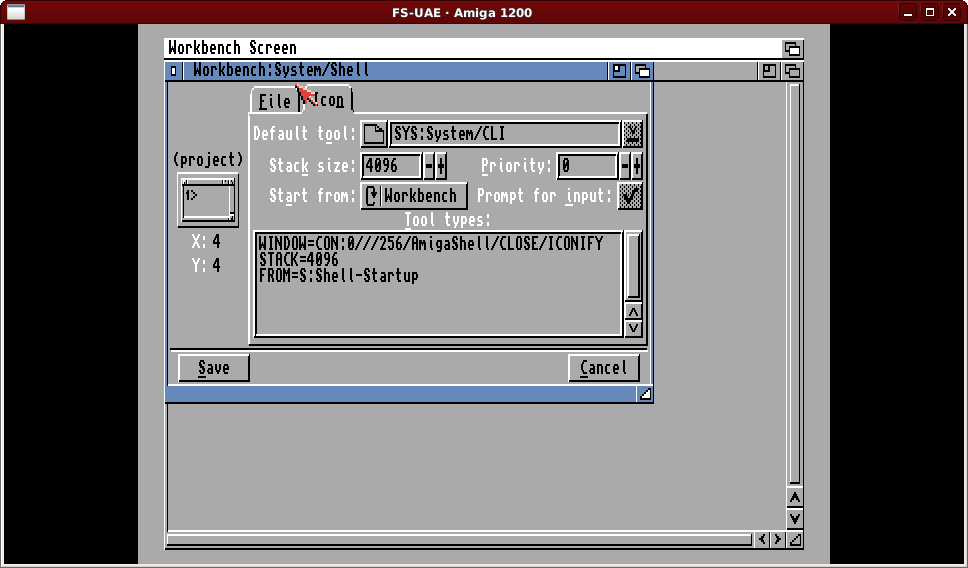
Just click on the Save button and the next AmigaShell window will fill the (emulated) screen. Now how about adding the “XFER” area. F12 exit the emulator as adjust the OS32.fs-uae adding in the lines as before:
hard_drive_1 = AmigaDev_XFER
hard_drive_1_label = XFER
If you recall, before the hard file was HD0 and HD1 and the XFER area became DH1. We’ve taken up DH1 already, so what happens now? Launch a shell and type “info” to find out.
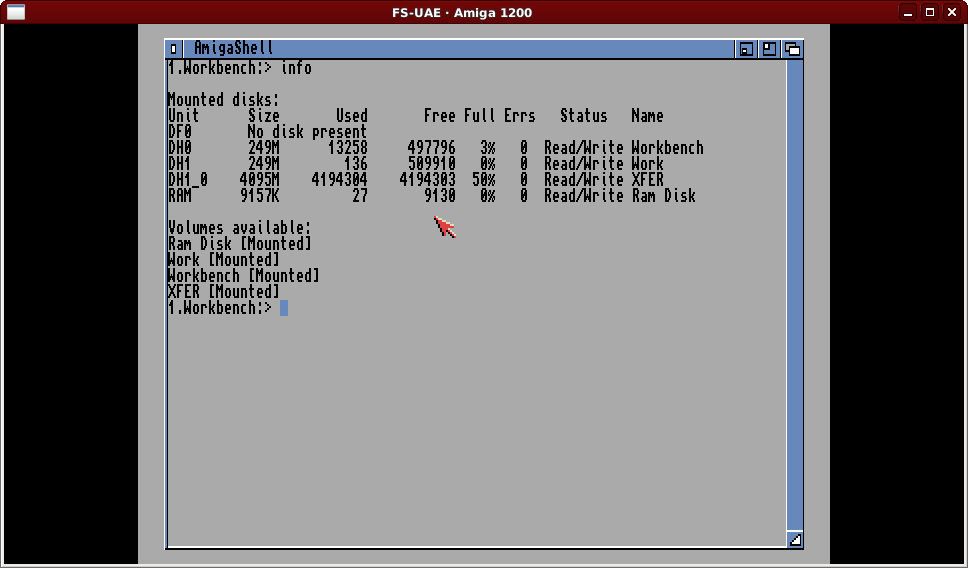
So the transfer area device is called DH1_0 now… Later I found out how to “fix” this, but for now, most of the 3.1 “AmigaDev” instructions can be carried out as before just with some substitutions.
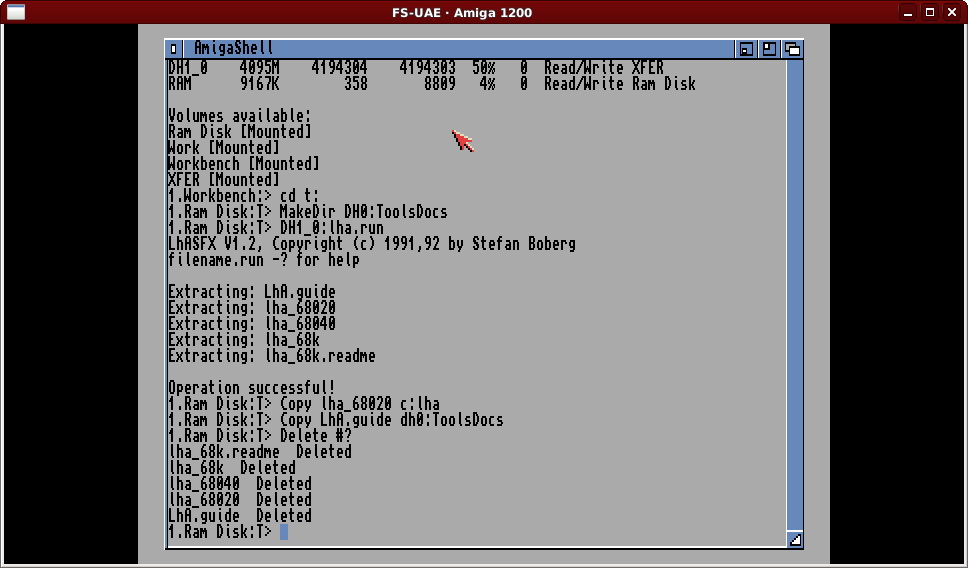
Use DH0 for HD0
Use DH1 for HD1
Use DH1_0 for DH1
For example, the LhA installation process:
One thing we DO NOT want to do is put the “Installer 43.3” package onto the system. While the Aminet package we used in the AmigaDev process was newer than the OS 3.1 installer, that is not the case here. We still want to installer program active under the “C:” command assign, so we will use a command called “MakeLink”.
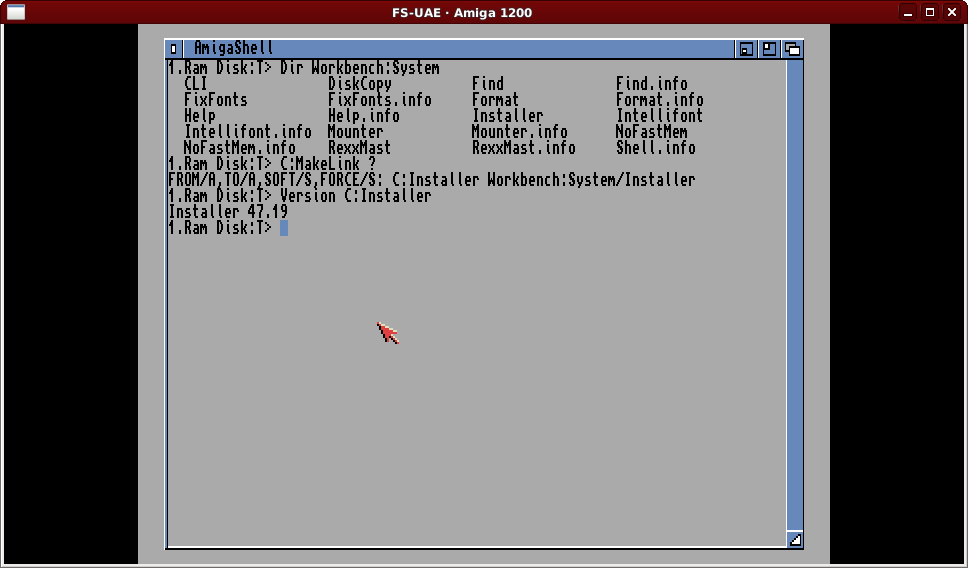
Above we are showing the Workbench System directory (new format for 3.2) and starting MakeLink with a ‘?’ which causes it to prompt:
FROM/A,TO/A,SOFT/S,FORCE/S:
This tells us we need to provide FROM and TO arguments (first being the link, the second being the original) and we can optionally give two “switches”. We just specify “C:Installer” and “Workbench:System/Installer” here.
With the larger 250MB size of Workbench we can install VBCC under Workbench instead of Work.
For the NDK though what I did was different. I went to the Hyperion website (see start of post) and downloaded the “AmigaOS 3 NDK” from there. At the time of writing this is on release 3, and downloaded as “NDK3.2R3.lha”. I downloaded this in the past before getting AmigaOS 3.2 and extracted within the 3.1 AmigaDev environment using something like this (note this was using the other environment with DH1 referring to the transfer folder):
Cd DH1:
lha x NDK3.2R3.lha
For the AmigaOS 3.2 install we can copy the new NDK as follows. It would REALLY make life easier to refer to the volume name “XFER” rather than device names.
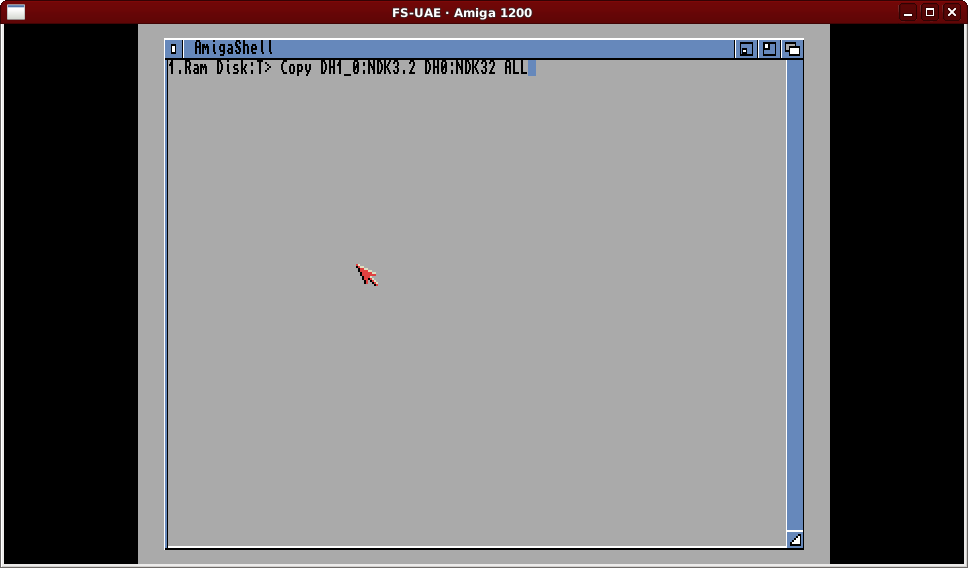
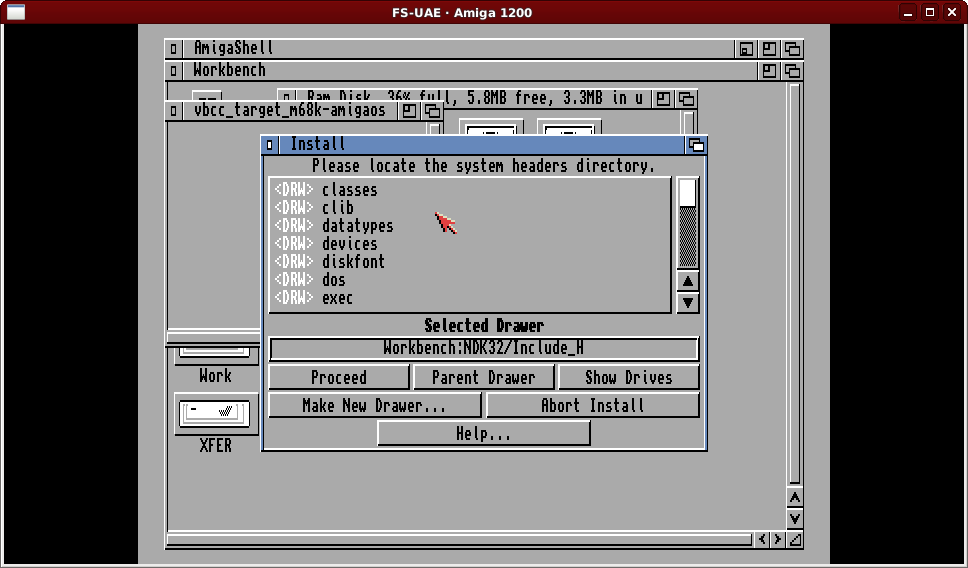
For the second part of the VBCC install we have to select the location of the system headers. The layout of NDK3.2 is a little different compared to the “NDK39” we had before, plus we copied the NDK to our larger Workbench drive, so this selection becomes…
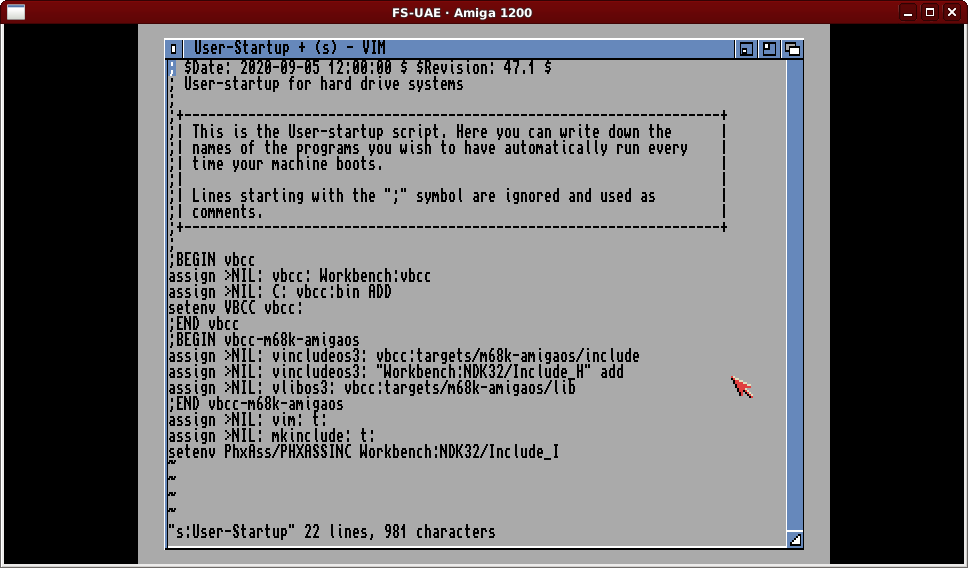
Another thing of note is that AmigaOS 3.2 provides a User-Startup file with only a comment, after VBCC has added a couple of sections and we have added modified versions of our own additions the file looks like this.
Now… about this DH1_0 lark… I don’t like this so I tried changing the OS32.fs-uae configuration file:
hard_drive_2 = AmigaDev_XFER
hard_drive_2_label = XFER
Unsure of whether changing these lines and leaving “hard_drive_1” absent would even work after re-starting the emulator and seeing all the icons appear I launched an AmigaShell and performed an info command:
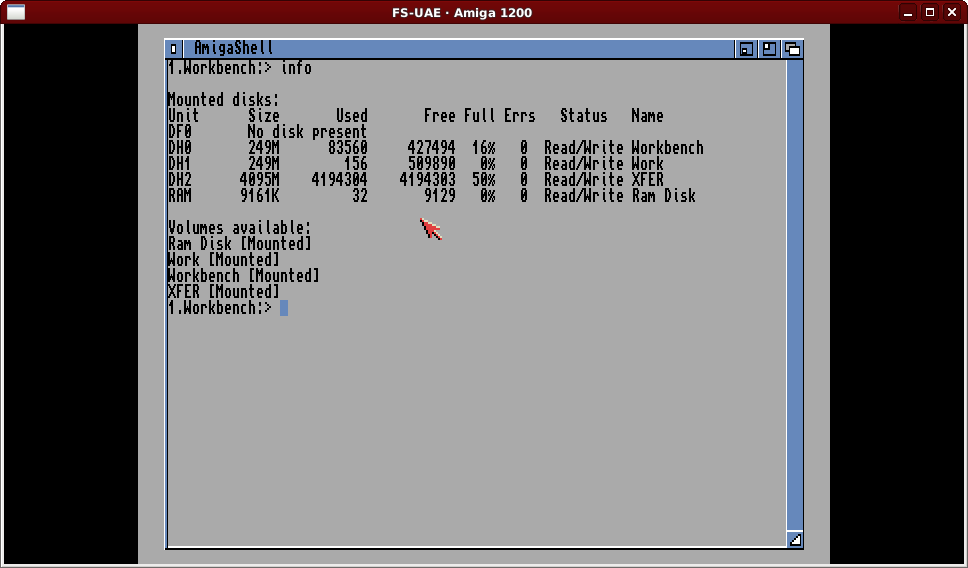
As you can see we have DH0 and DH1 from our hard drive file, and our transfer area “XFER” is now DH2.
To me this is how hard drive devices are meant to be named.
One interesting new feature of AmigaOS 3.2 is within the “IControl” preferences. A new option “Can Move Off-screen” allows windows to be moved to be partially off screen like most modern operating systems. Prior version of the operating system limited windows to being completely on screen.
Another nice addition is hiding in the “Tools” folder, a new text file editor called “TextEdit” which is a demonstration of the “ReAction” UI:
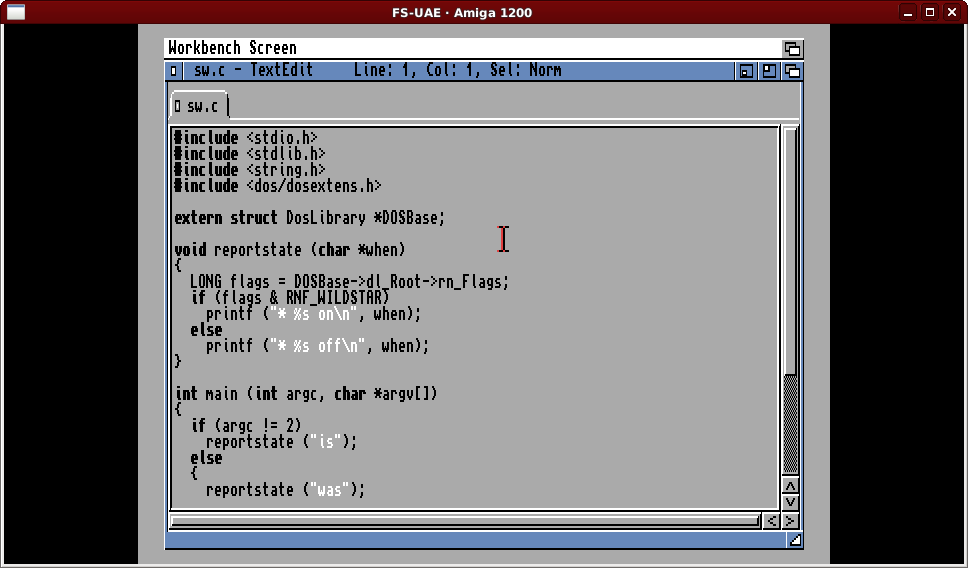
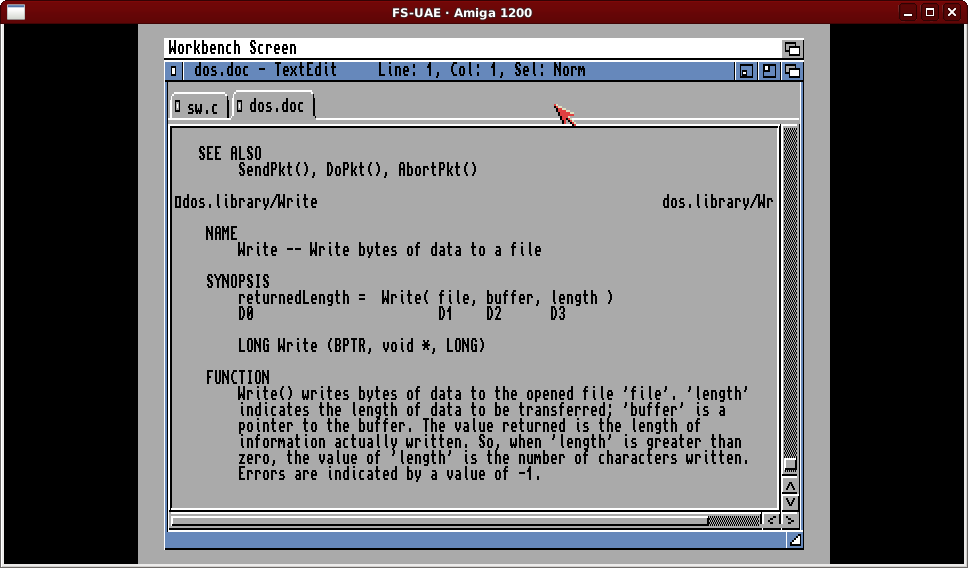
It can open multiple files, performs simple syntax highlighting (ARexx, Shell, C and 68k) and uses “wide tabs” so the Amiga “Autodocs” files show the 680×0 registers in the correct places under the C language definitions. You can optionally show line number, adjust tab widths, indentation, etc. Quite a nice editor.
Behind the scenes a new device “trackfile.device” provides access to ADF files the same way “trackdisk.device” provides access to floppy drives, and the CLI command “DAControl” provides users with options to create, mount, copy and perform a large number of other actions. This could be of great use within an emulated environment like FS-UAE that doesn’t give access to arbitrary floppy disk images at run-time. If you want some fun try copying the OS 3.2 “ADF” folder to the transfer area and issuing the AmigaShell command “DAControl LOAD #?.adf”.
Another really nice feature is the addition of “scroll wheel” support, even in an emulator with no special switches required. This is subtle, but with a modern mouse or laptop trackpad it just feels so nice to be able move around scrolling windows. Note that AmigaShell cannot be scrolled, sadly, but if you see a scroll bar, give it a try.
Overall I would say the purchase of AmigaOS 3.2 gives you a very nice version of the AmigaOS to develop on, and supports ongoing developments of Amiga system software. I am tempted to use this as my main development system now.